Published March 17, 2023 10:17AM
8 Simple Things I Wish I’d Known as a Beginning Climber
Check out this hard-won advice from one of climbing's veterans.
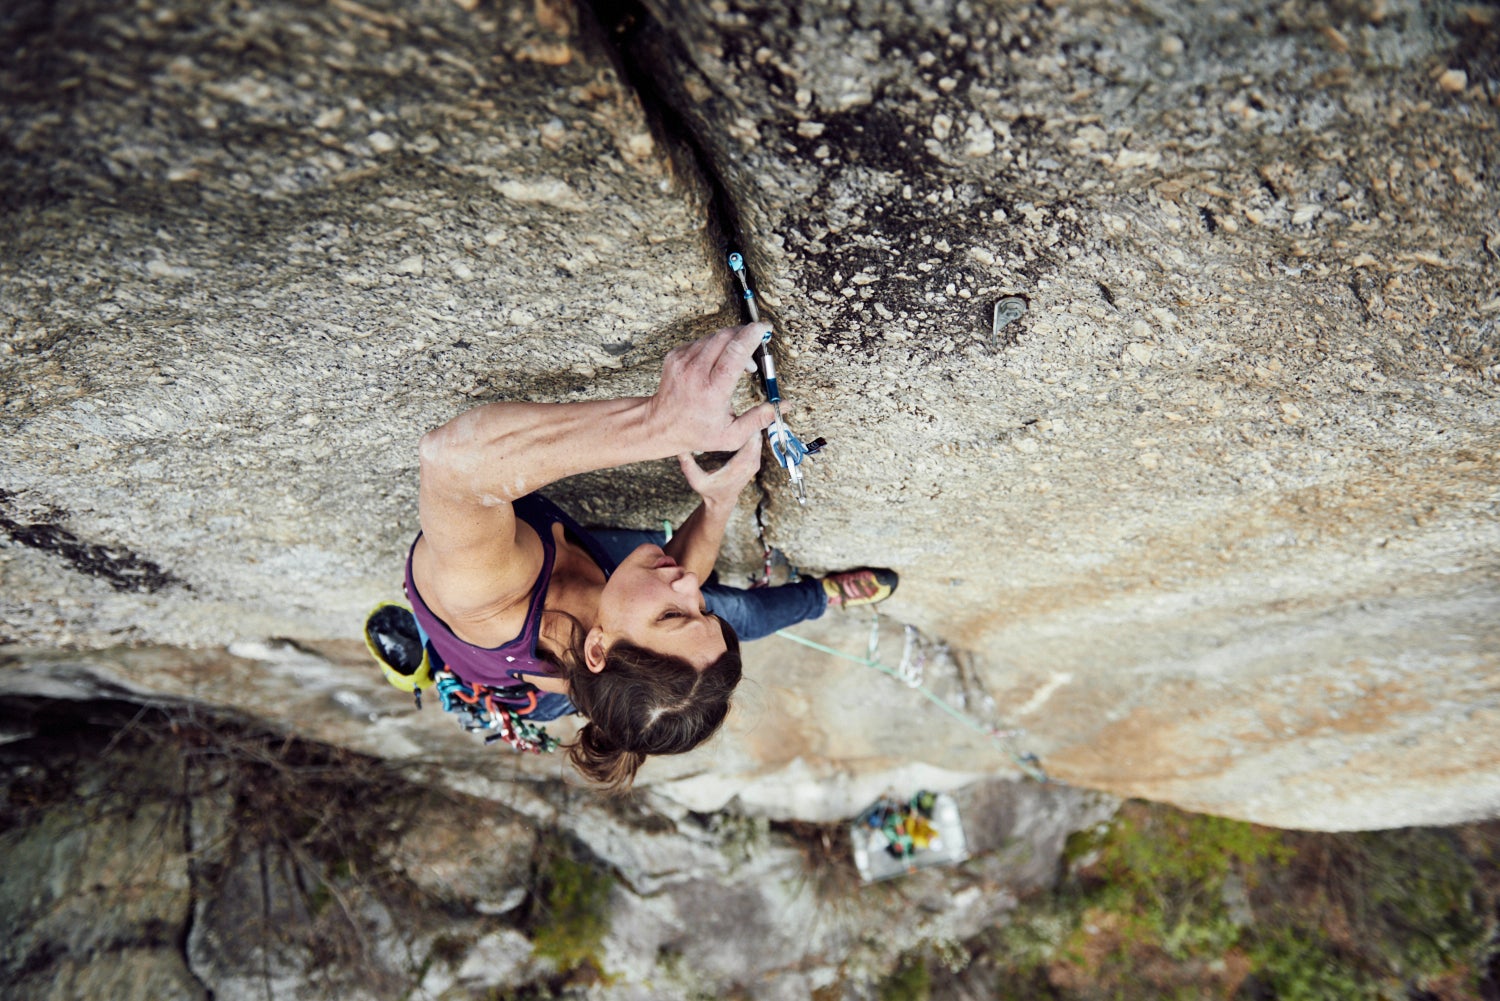
Mayan Smith-Gobat plugging gear. (Photo: Courtesy Wild Country/Frank Kretschmann)
During my sophomore year in college—my first time living anywhere that wasn’t my parents’, my car, or the dorms—my roommates and I noticed that the dryer at our place wasn’t working anymore. As an obsessive 20-year-old sport climber, I could have given you blow-by-blow beta on my latest Rifle project. But I had no idea what was up with the dryer, so I rang my dad, who told me to call a repairman. The repairman showed up, opened the closet door to the stacked unit, peered inside, and then gave me a look.
“Do you know what a lint trap is, son?” he asked.
“Uh, a what…?” I said.
“A lint trap—where all the lint from your clothes goes,” he said. “Well, yours is overflowing. Badly. You need to clean it each time you use the dryer.” With that, he began to pull out fistfuls of lint, stuffing them in a trash sack. Then he handed me the bill.
Sure, I could have saved $90 by cleaning the lint trap myself, but I had no idea that this “lint trap” existed nor that it needed regular cleaning, because, well, someone else had always cleaned the trap. I didn’t know what I didn’t know. The same goes for climbing: you don’t know what you don’t know, until you either figure things out yourself or someone more experienced shows you the way.
ADVERTISEMENT
With that, and with thirty-four years of puttering on the rocks, I’d like to offer these eight simple things I wish I’d known as a beginning climber. Some are pointers I’ve picked up from other climbers, but most I figured out through trial and (mostly) error.
[Want to learn Trad? Get Started Here]
1. Buy Yourself Some Good Rock Shoes
My first rock shoes were hand-me-down, blown-out Firé Cats, the only sticky-rubber shoes in America in the mid-1980s. Moreover, they were two sizes two big, so I had to wear wool socks to fill them out, which was hot, itchy, and sweaty in the New Mexico desert. Still, they were a huge step up from Converse All-Stars, and I went from 5.6 to 5.9 overnight.
These days, shoes have evolved light years, with dozens of killer options. I didn’t know it then, because my technique was still raw, but free climbing is all about driving your weight down through your big toe, to connect up through your legs and core, taking weight off your arms. So while all the brands do sell beginner shoes, they tend to have flat, uninspired lasts and rounded toeboxes that don’t let you feel or activate on small holds they way you’ll need to, to advance as a climber. In my opinion, you want a shoe with at least a touch of downcamber and a good big-toe point, which means spending at least $120 for higher-end cobbling.
ADVERTISEMENT
Do yourself a favor—buy shoes you can grow into and that mildly challenge you at first. Your feet will strengthen as you go, and your footwork will have a more solid foundation.
2. Actually, Make That a Quiver of Good Rock Shoes
On second thought, if you’re sure about this whole climbing thing, invest in at least three pairs of shoes: a comfy pair with mild support and precision for the gym and multi-pitch; a semi-stiff pair for edging, trad climbing, vertical face, and cracks; and a softer, asymmetrical, downturned pair for bouldering and overhanging sport.
As you go deeper you can slice the bread even thinner—for example, I have my “gym edging and jib shoes,” my “gym volume shoes,” my “pocket and thin-face shoes,” my “MoonBoarding shoes,” etc. In fact, I have amassed something like 30 pairs in my gear closet, much to my wife’s consternation.
3. It Is Perfectly OK to Back Off Any Route at Any Time
You know those pundits who opine on forums about what climbing ethics “should” be, how you should “man up and go for it,” and how backing off is for “wussies”? Well, screw their toxic attitude, and screw anyone at the crag or any climbing partner who pulls that crap, too.
ADVERTISEMENT
The only thing that matters is coming home in one piece—climbing is dangerous and gravity kills. If that means listening to your gut (intuition) and not even starting up a route, or asking your partner to lead so you can toprope, or simply leaving a bail carabiner on a bolt and lowering, then do it. And if that means adjusting your style on a climb—say preclipping through the second or third bolt, or previewing a high boulder problem on a rope, or rehearsing a difficult crack on toprope—to bring it into your comfort zone, then do that as well.
Yes, the sport is teeming with lore about epic, bold leads and skin-of-the-teeth ascents that ended “heroically,” but it’s also full of markedly less romantic tales of injury, maiming, and death. If you take a risk, make sure it’s a calculated one and is done so because you value the experience, not the outcome or others’ perception of you.
4. Use Every Part of Your Body, Every Chance You Get
My early mentors told me that placing my knee on the holds was “bad form,” but they were wrong—pumping out and failing because you failed to employ, or even consider, practicable beta is worse. In fact, it’s just plain dumb.
ADVERTISEMENT
I use kneebars and kneescums all the time, as well as the alpine knee, in which you place your kneecap on a hold in order to bring your other foot up. I’ve also used buttscums, headscums, and all manner of jessery (trickery). If your body can get into a position and you can use it to move up the rock, then it’s legit. I mean, how is a kneebar any more “cheating” than a hand jam?
5) Use Every Hold You Can Reach
I used to think there were rules out at the cliffs, that certain holds were off or that you couldn’t stray too far from the bolt line, or you were somehow cheating. And while I’ve certainly been guilty of myopically sticking only to the holds in front of me on my own first ascents, I have learned from repeating others’ routes that you can and should go where the rock lets you. The goal is to solve a puzzle, using all the pieces you can lay your hands on—even if others didn’t see those pieces or swept them off the table. If doing so brings the grade down, so be it—your goal as a climber is to take the logical path of least resistance.
6) Never Waste a Day Out Climbing
There are frustrating days, sure, but if you’re doing this right there really should be no “bad” days. As you get older and life piles on the injuries, responsibilities, and losses, you’ll come to realize that just being at the rocks, in some beautiful spot, on a nice day, is a gift.
ADVERTISEMENT
Take this January in Eldorado Canyon, Colorado. My friend Chris and I went to try a climb high on the West Ridge—the forecast was 55 and sunny, theoretically perfect on a south-facing cliff. However, the damnable Front Range wind came in, the belay dropped into the shade, and we had to bail. And when we rapped out of there our rope got stuck, forcing us to climb back up and retrieve it.
Zero rock climbing got done, but back on the ground, thawing in the bright winter sun, we decided to hike around and check stuff out. Along the way we found a scramble approach to the climb that let us return a week later and toprope self-belay, and we soloed a fun, long 5.0 at the toe of the West Ridge that we might not have done otherwise, connecting with the stone, with the place, with the sport, with each other.
7) Injuries Stay with You
Acute injuries get better with time and rehab, but they also leave an imprint that stays with you for the rest of your climbing career—i.e., it’s better not to get injured in the first place. In my teens, due to sloppy footwork while plugged into monodoigts at Cochiti Mesa, New Mexico, I blew out both middle fingers. To this day, they’re still prone to tweaking, and I have to use my pointer fingers in monos. I wish I’d been smart enough back then to just walk away from those tiny pockets until I was technically advanced enough to pull on them in a safer fashion.
8) Check Your Knot
Check it before you start off the ground, have your partner check it too, and check it at stances or before cruxes along the way—knots tied properly don’t usually spontaneously untie (though there are anecdotes of this happening with stiff, new ropes and bowlines), but you may as well check anyway. It could save your life, or at least give you the piece of mind to go for it. I’ve only ever had one close brush, when at age seventeen I failed to follow my figure-8 through properly; I noticed it halfway up a 100-foot 5.11a—after the crux! Glad I didn’t fall.
ADVERTISEMENT