Updated February 25, 2025 01:06PM
How to Build a V-Thread Ice Anchor
4 easy steps to a bomber V-thread, plus tips on how to use it
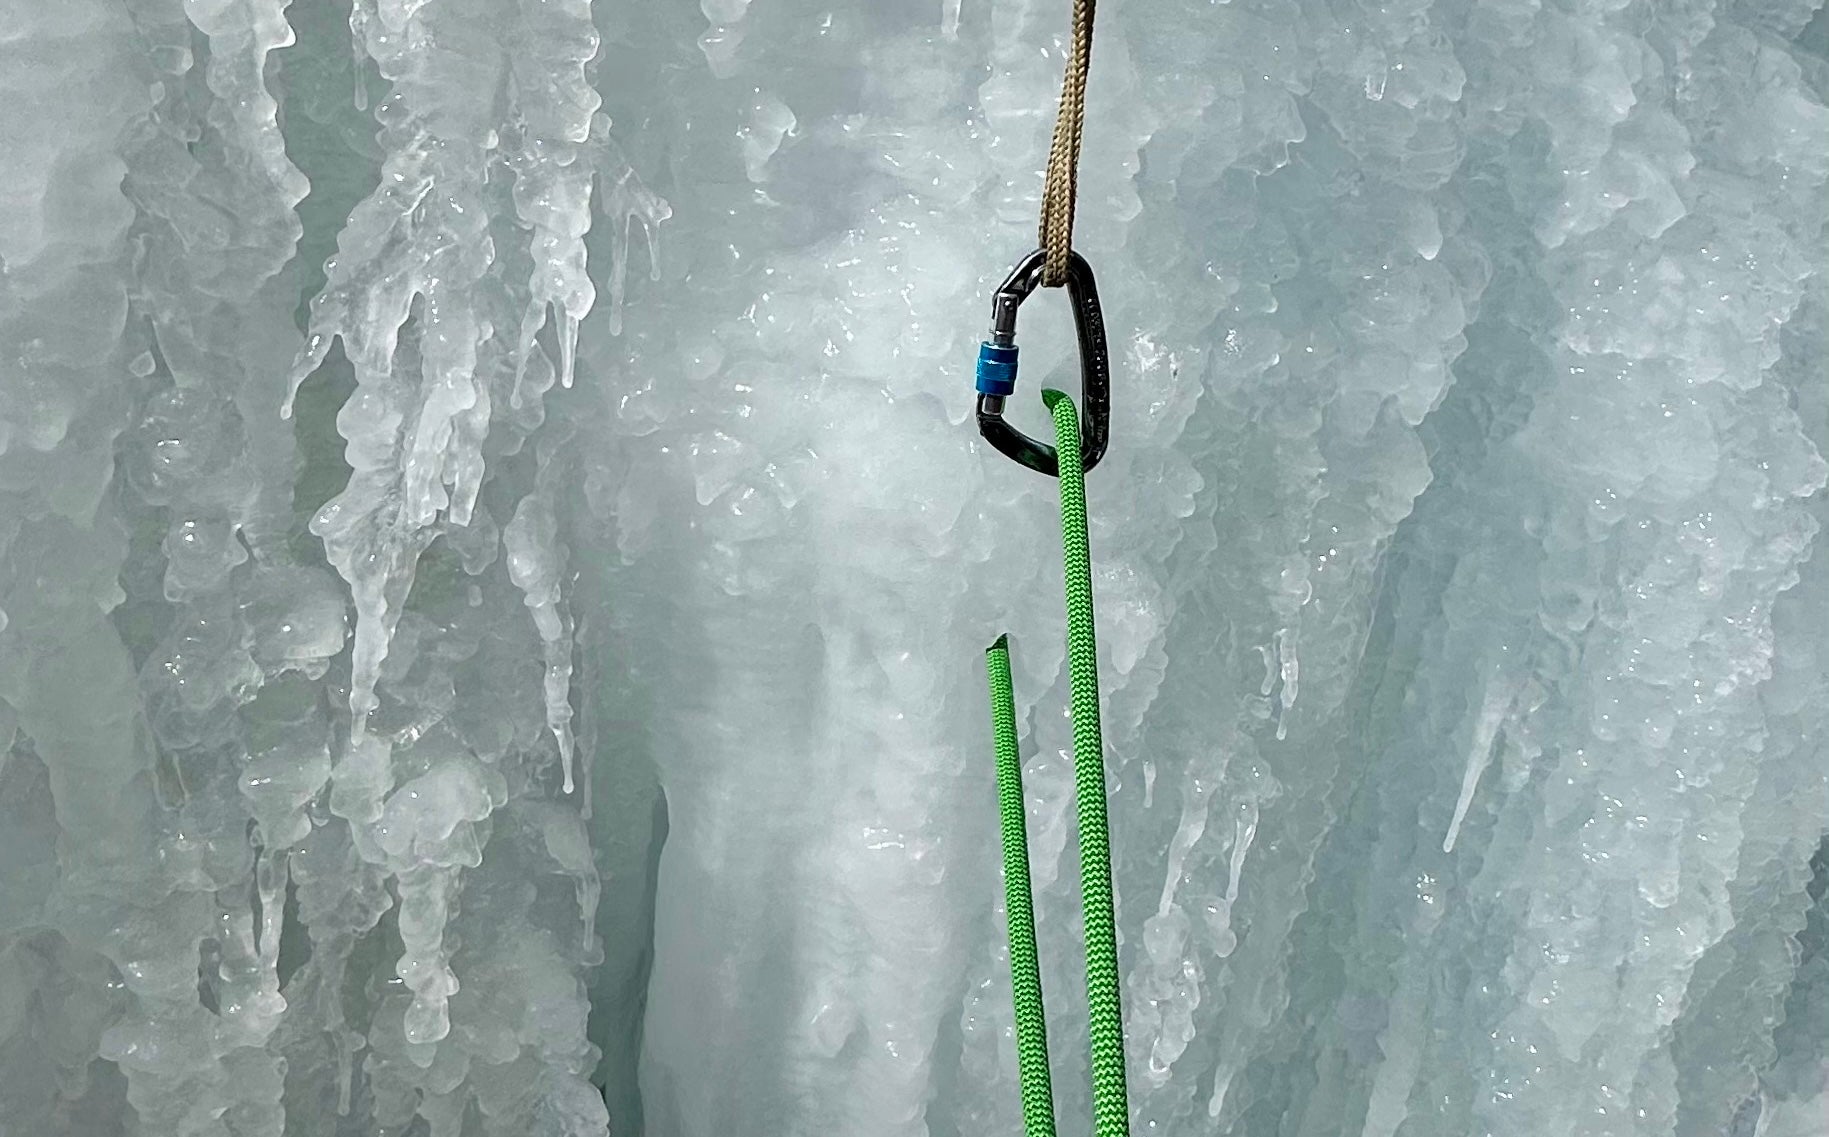
(Photo: Casey Coleman)
Long rappel descents can quickly turn into expensive ordeals when you have to leave gear behind for each rappel anchor. Whether you planned to descend by rappel or you have to because the weather went bad or an injury occurred, getting strategic about your rap anchors can save you gear that you might need later on—and save you some cash.
Fortunately for those seeking terra firma in winter or on an alpine objective, ice typically provides a much more favorable medium for descent than bare rock. Not only does the chance of rock fall decrease, but you can rappel with minimal gear using a V-thread ice anchor. The technique below creates a safe, fast, and cheap ice rappel anchor that you construct with a few screws and some alpine ingenuity.
V-thread ice anchors 101
Also known as Abalakov threads, V-threads consist of two connected holes forged with an ice screw through which you can thread your rope. You can also use a V-thread—with an equalized back-up—as a belay anchor to bring your partner up on a multi-pitch climb, or as a top rope anchor.
ADVERTISEMENT
V-threads are most commonly used as rappel anchors on long ice climbs. Even on alpine rock climbs or mixed routes that don’t require ice screws for protection, carrying a single 19-22cm ice screw opens up more options for rappelling. Using a screw to construct V-thread anchors is cheaper than building rock rappel stations. Since you don’t have to locate cracks for rock anchors, this technique allows you to descend the full length of your ropes each pitch, as long as there’s ice near the ropes’ ends for the next anchor. Once you pull the rope, only two holes remain in the ice.
That said, you should add a back-up for any V-thread ice anchor. Ideally, this back-up consists of an equalized anchor made from two ice screws. In a pinch (and less ideal), you could also back up your V-thread with a single ice screw placed above the V-thread. Whether you use an equalized two-screw anchor or one screw, you’ll attach this back-up to the rope with an alpine draw, without weighting it. In order to avoid leaving this backup screw and draw behind, the heavier climber(s) can rap down first with the back-up intact to test the V-thread anchor. Then, once you’re confident your V-thread rap anchor is bomber, the last (and lightest) climber to rap down can remove the backup before they descend.
Lastly, a V-thread anchor is only as strong as the ice it’s built from. Look for thick stretches of ice without any visible air pockets or color variation that isn’t picked out from past climbers. If the ice shows signs of melting or deterioration, it’s not going to support a strong V-thread.
Naked V-thread vs. cord
While a “naked thread”—wherein the rope is threaded directly through the V-thread—is usually fine, in very cold conditions, your rope can freeze into the V-thread and become stuck. This can make it difficult if not impossible to pull the rope after you rap. Generally speaking, if temperatures are cold (below -22 degrees Fahrenheit/30 degrees Celsius) and wet, you should plan to thread cord or webbing through your V-thread to anchor the rope, instead of threading the rope through directly. However, this will mean leaving your cord/webbing behind, so you’ll need to bring extra for the ride down.
ADVERTISEMENT
How to build a V-thread ice anchor for rappelling
Visual learners, you’re in luck. We’ve put together a video tutorial demonstrating how to construct a V-thread and backup. At the end, we also demonstrate how to turn a practice V-thread into a refreshing booze luge using just a single ice screw. Choose your drink of choice and experience the true meaning of “ice cold. ”
Need step-by-step instructions? Here’s how to build that V-thread, one step at a time:
ADVERTISEMENT
Step 1: Make your holes

While clipped into to a two-screw or other equalized anchor, drill your “V” with any 19cm or longer ultralight ice screw. The point of the “V” in the ice should ideally form at least a 60-degree angle. Orienting the two holes in line vertically (one on top of the other) rather than horizontally has shown to produce a slightly stronger anchor. This orientation also makes it easier to thread the rappel rope, as you’ll have gravity working with you as you slide the end into the upper opening. Either orientation in good ice is strong enough for a bomber anchor.
Step 2: Begin threading the cord or rope

To get the cord or rope through the V-thread, you’ll need some sort of wire to guide it through. While specialized “V-threader” tools are available, they aren’t necessary. The cable from a small nut works well, or you can also make your own V-thread tool using a clothing hanger (this is what’s used in the video above).
ADVERTISEMENT
Slide the wire into one of the ice screw holes, just past the point at which the ends of the holes intersect. If your openings are aligned vertically, slide the wire cable up into the lower opening. Make sure to turn the loop of the wire so it’s facing toward the tube where the cord/rope will come in.
Now slide the cord/rope down the top hole and through the wire, far enough that some rope extends past the wire loop. This tail is necessary to pull the cord/rope through the bottom hole.
Step 3: Pull the cord or rope through

Once you feel confident that the cord/rope is through the wire loop, slowly begin to pull the nut or other end of your V-thread wire tool out of the bottom hole. Sometimes it helps to slightly twist the nut (about a half-turn), so the cord/rope is securely caught in the wire loop.
Once you get the end of the cord/rope out, you should be able to feed the rest through the anchor, just as you would a two-bolt anchor or rappel rings. As with any other rappel, try to get the middle of the rope in the center of the anchor. The same process works for threading sling or cord.
ADVERTISEMENT
Step 4: Set your backup
Place a screw about the length of an alpine draw above the V-thread. Attach it with an alpine draw to the rope. There should be a little slack in the draw—you don’t want this back-up weighted so that you can effectively test the V-thread anchor with the first rap.
Rappelling from a V-thread
Rappelling is one of the most dangerous aspects of climbing (get some general tips for doing it safely here), so you’ll want to make sure you get the sequence of rapping with a V-thread anchor right. Because you’re creating your own anchors with just a few screws as you go, it’s critical to follow a set sequence so the first person rappelling has the necessary tools to make the next anchor. At each anchor station, you’ll actually be drilling two anchors: one to clip into when waiting to rappel down the next pitch, and one for the next descent.
The first to rap should descend from the original anchor equipped with 2-3 screws and other protection required to build the next anchor. As the second rappels, the first should build an equalized ice screw anchor to clip into, then build the next V-thread anchor at least 12 inches below that anchor. The sling running through the upper anchor can then be clipped onto the rappel rope as a backup with a few inches of slack in the connection.
ADVERTISEMENT
A veteran alpinist and outdoor writer, Blake Herrington has made dozens of alpine first ascents (and rappels!) without placing a single bolt.