Published November 30, 2022 01:40PM
How To Do One-Arm Hangs
We’ve all seen videos of pros hanging one-handed from tiny holds. But when is this something the rest of us can train? And what does the progression look like?
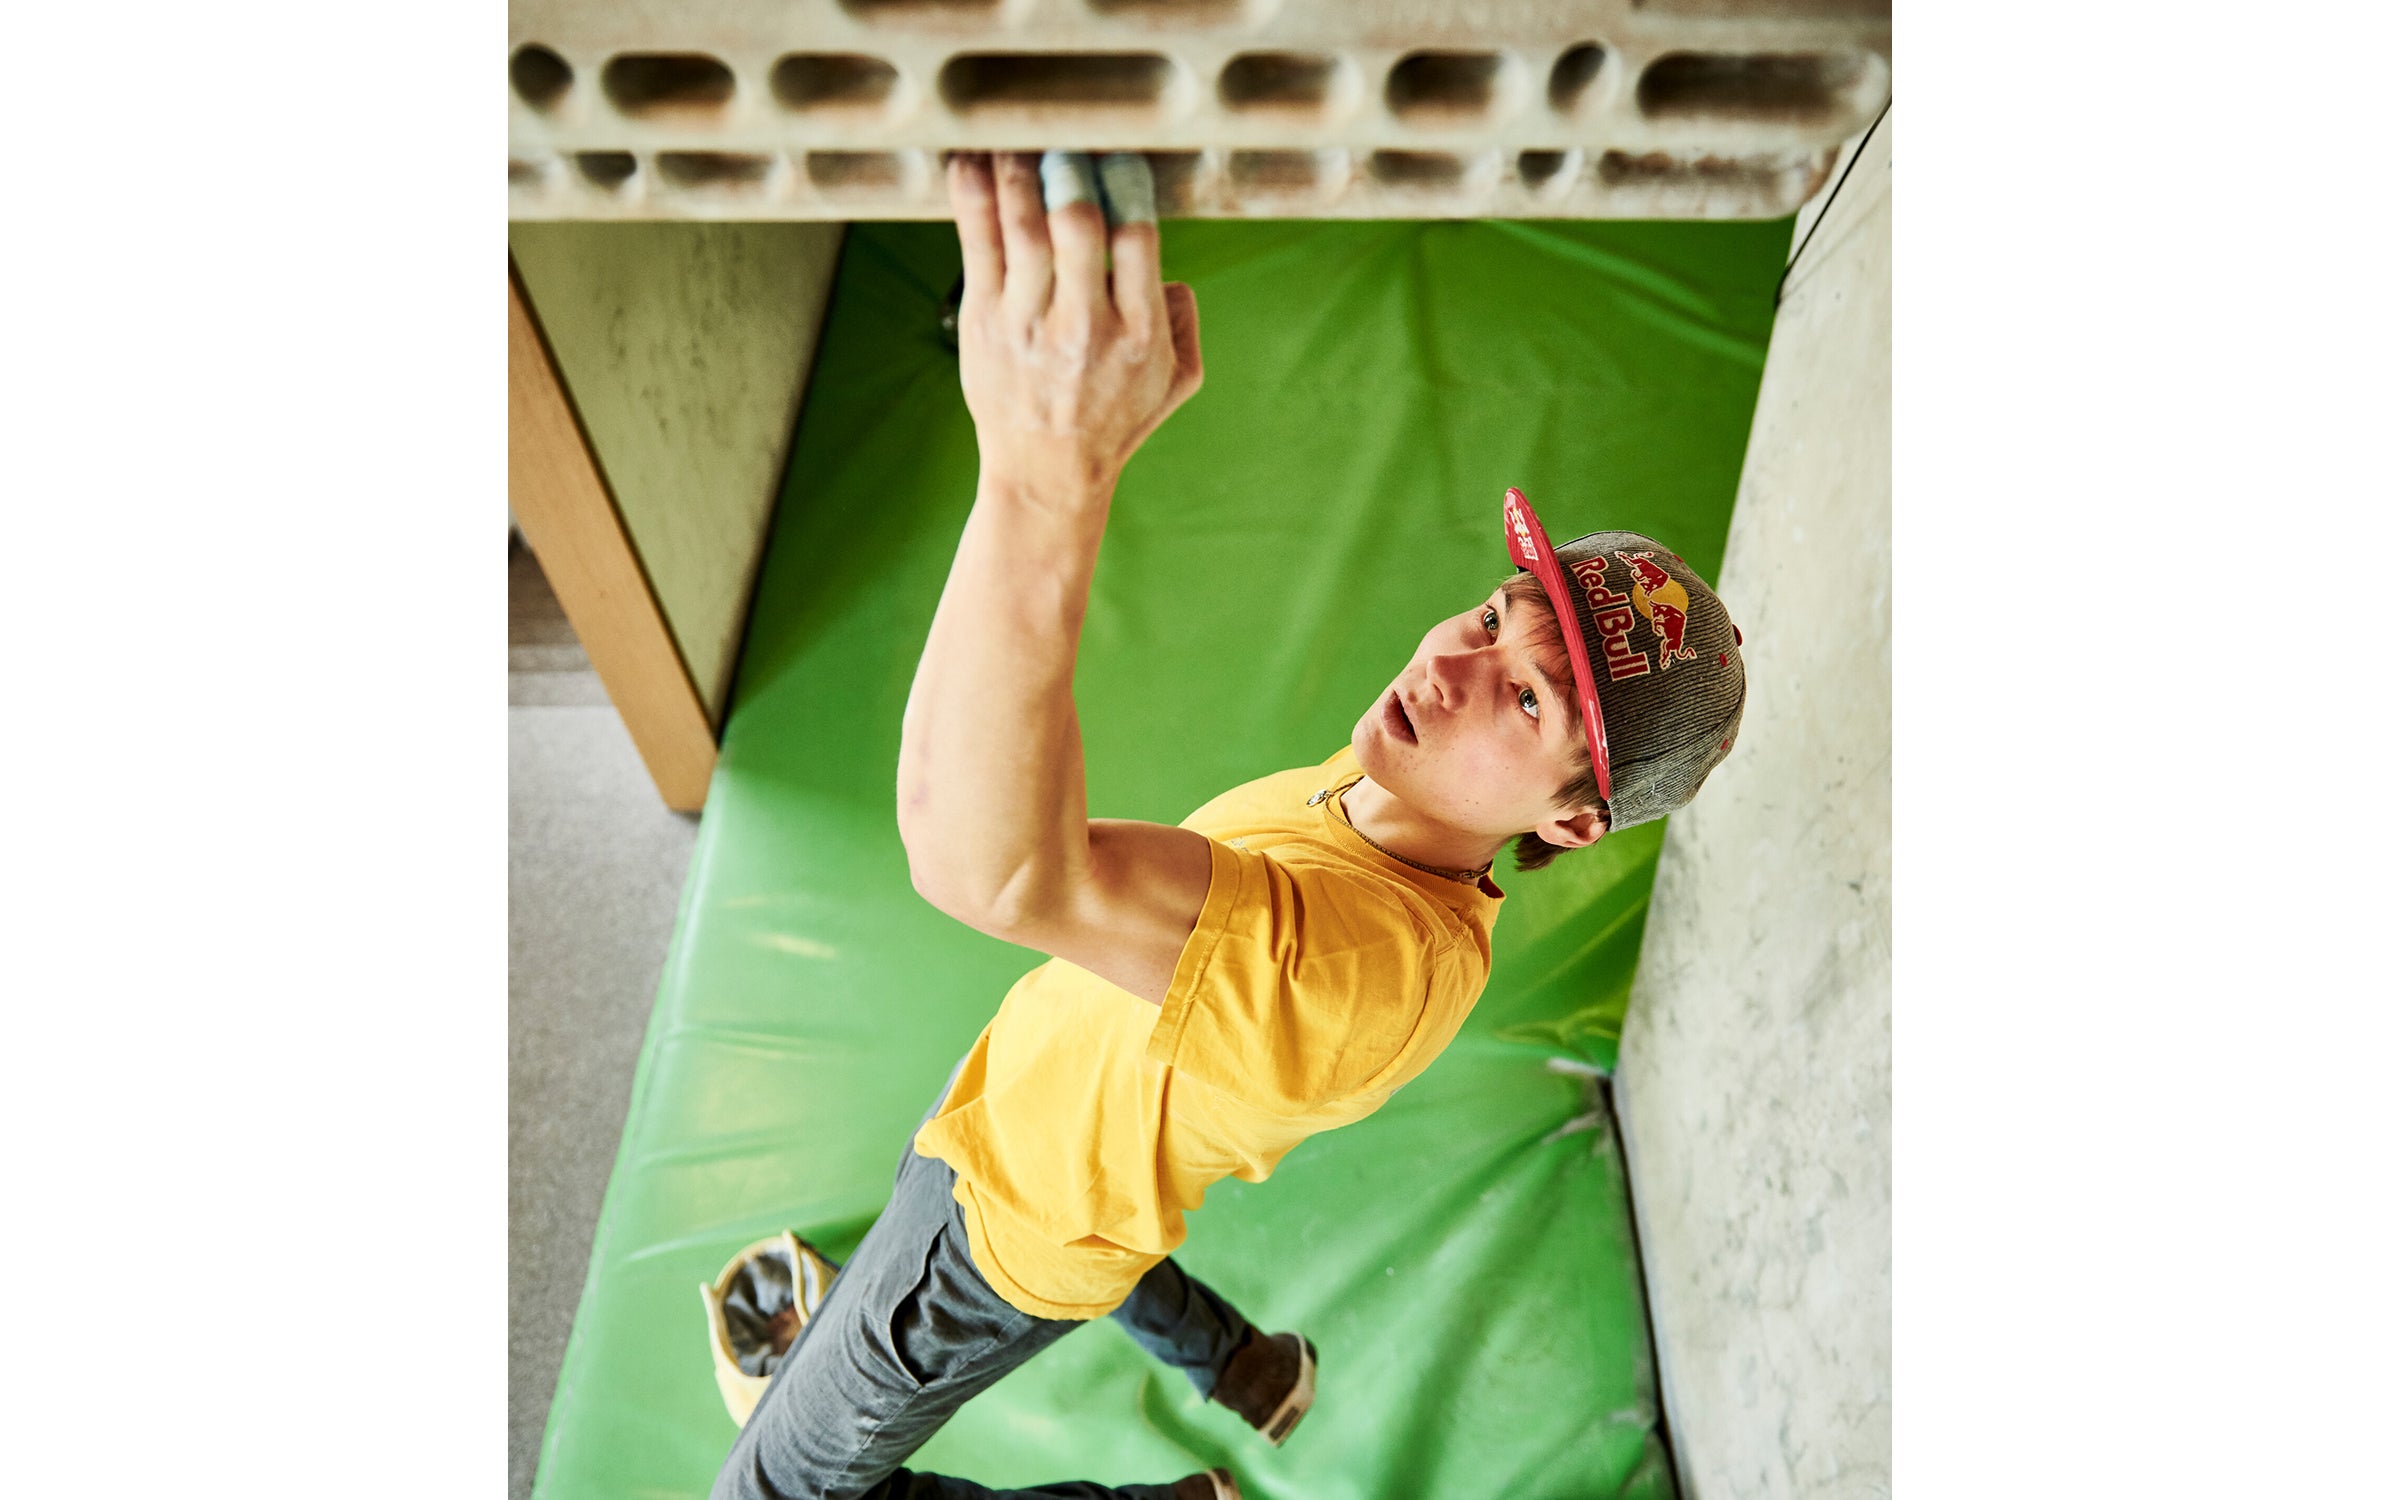
Hangboarding, due to its specificity, just might be the most effective non-climbing workout you could possibly do. (Photo: Ray Demski / Red Bull Content Pool)
If there was a single, measurable determinate of climbing ability, it just might be finger strength. If you can’t hold the holds, it hardly matters if you can do one-arm pull-ups or front levers.
There are many ways to train finger strength, the first and foremost being climbing itself. Hangboarding, due to its specificity, just might be the most effective non-climbing workout you could possibly do. It allows you to isolate your finger strength and systematically hone in on it. It’s an easily controlled and, as such, relatively safe way to progressively advance your hold-holding abilities. It’s also incredibly simple, or so we’d like to think.
As the saying (almost) goes, variety is the spice of hangboarding. If you do the same exercises over and over again, your physical gains will stagnate, especially if you’re an advanced climber. The best way to promote adaptations is to change the stimulus, i.e., your hangboard routine. Switching from two-arm hangs to one-arm hangs is an excellent way to do that.
Who’s it For?
One-arm hangs are an advanced exercise. They are not for beginner or even intermediate climbers. Speaking generally, you might be ready to integrate one-arm hangs into your routine if you can climb 5.13+ or V10. If using two hands you can hang with 70% or more of your body weight, that’s another good indication you might be ready for one-arm hangs.
ADVERTISEMENT
Two Arms vs. One
Aside from the benefits of variety, there are other reasons you might want to consider integrating one-arm hangs into your routine. For one, once your finger strength is relatively high, you will likely be adding significant weight to your hangs. For many climbers, the added weight can get uncomfortable. Also, some climbers may find that two-handed hangs can cause pain at the front of their shoulders. Hanging with one-arm instead of two would alleviate this pain because your shoulders would open out rather than be turned in.
In addition to working finger strength, one-handed hangs will also increase shoulder stability and strength. This is helpful in preventing shoulder injuries and even increasing pulling ability.
There are a few cons to one-arm hangs worth mentioning. You only rarely need to hang from just one arm while actually climbing. For that reason, positionally speaking, these hangs are less specific to climbing. Also, as mentioned, one-arm hangs challenge your shoulder stability and strength. If your shoulders aren’t strong enough, then your finger strength won’t be the limiting factor and thus your fingers won’t be sufficiently stimulated. Also, if your finger strength differs from one hand to the other, then you must be careful not to increase the difference. Avoid the temptation to push the stronger arm and keep the exercises the same for each side.
ADVERTISEMENT
[Want to learn from a pro? Check out Jonathan Siegrist’s 6 Weeks to Stronger Fingers Course]
Exercises:
Offset hangs: This is a great one for progressing into one-arm hangs. Hang with one arm on an edge that you can almost—but not quite—hold without assistance from the other arm. The other arm will grab a hold that is below the targeted edge, and is ideally worse. For example, if you can almost hold a 25 millimeter edge unassisted, then hold the edge with your left hand and your right arm can grab a 20- or 15-millimeter edge that is down and to the right of the 25-millimeter. Depending on your hangboard setup, you could also play around with how many fingers you use with the assisting hand to add or reduce assistance.
Using a block: Attach weight to a portable hangboard or training block. You can practice deadlifting weight using a 20 or 15 millimeter edge. Once you can lift body weight, you should be able to do a one-arm hang (assuming your shoulders are strong enough).
Using assistance with sling or band: Perform one-arm hangs while grabbing onto a sling or band with the free hand to reduce load.
Taking weight off with pulley-system: Use a pulley system to counterbalance your weight while you perform the one-arm hangs (You’ll have to attache the weight to a sling that goes through a pulley and then attaches to you via a harness). You could also use a pulley system to attach weight to a sling (same set up as before but instead of attaching the sling to you via a harness, simply hold it so that you pull down on the sling while hanging). Both of these methods are advantageous to using a sling or band without weights because you can track how much weight you use for assistance.
Taps: Similar to the offset hangs, you will grab an edge that you can almost hold without assistance. The other hand will also grab an edge that is ideally offset (below), although it doesn’t have to be. The assisting hand will release and re-grab the hold so that you are temporarily hanging from one hand. Repeat until failure.
ADVERTISEMENT
Example Workout

A standard protocol might be hanging for 10 seconds on, repeating with the other hand, and then resting for three minutes before doing another set. Repeat for at least three sets total. You may need to use assistance or take weight off with a pulley system. The idea is to use as little assistance as necessary (or to take off the least amount of weight as possible) while still hanging on for 10 seconds.
You may want to try switching between doing a hanging exercise and the pulling weight using a block in between each set. You could also do the workout mentioned above and then do three sets of taps (again, three minutes rest in between each set) until failure. You could also start with a one-arm hang workout and then do a two-handed workout afterwards. Instead of doing 10 second hangs, try increasing the intensity (smaller edge, or less weight off) and only hang for five. There are tons of ways to mix it up.
Another thing to keep in mind: grip position. An open-hand position might be more specific to climbing—especially if you’re a lead climber—while a half-crimp position is more active and will require more strength. You’ll likely want to mix up your grip position or just stick with a half-crimp.
Taylor Parsons, an Australian talent known for nabbing the second ascent of Wheel of Life (V15), developed a well-known protocol: do three sets of 10 second hangs (again, with three minutes of rest in between each set) for each arm with a straight arm hang. Then do three sets per arm but using a slightly bent arm. You may need assistance to hold the slight lock-off position. Finally, repeat the three sets in a 90-degree lock-off position. This protocol is great for training finger, elbow, and shoulder strength, but just a precaution: if you have elbow tendonitis, stay away! This workout will put loads of pressure on your elbows.
ADVERTISEMENT
Tips and Precautions
As with any finger training, it’s best to do it before climbing, but after a good warm up. Take your time with your warm up and be sure your mind and body are on the same page. Try hanging from a jug or bar first, doing some pull-ups, and two-handed hangs on good edges before progressing to smaller ones and then one-arm hangs.
Training doesn’t make you stronger; rest does. Depending on how much you climb, one hangboard workout per week may be sufficient, although two is likely the sweet spot. Just be sure you’re taking plenty of rest days. It’s shockingly easy to overdo it when it comes to your fingers, so be sure to back off if you start to feel tenderness or pain. Also, consider cycling your training to include hangboard-free weeks. Finger training can and probably should be done year-round, but that doesn’t mean you can’t have short periods that allow systemic inflammation to go down and tissues to fully recover.
Lastly, everyone has different finger anatomies and predispositions to hanging. Don’t compare yourself to your buddy, and don’t go looking for some magical formula that will tell you if you can hang on X edge with Y weight, then you will climb V15. Remember that strength is just one factor of climbing.
ADVERTISEMENT