Heading out the door? Read this article on the new Outside+ app available now on iOS devices for members! Download the app.

Perhaps my least favorite thing about climbing is the constant need to rappel. Hanging directly from the rope with no backup has always seemed like a great way to get into trouble. Every climber has an epic rappelling story, or two, or three, and I’m no exception. My biggest snafu was in 1998, coming off of Cerro Torre. Getting greedy, we continuously went for big rappels when we should have made short ones to avoid snagging the rope. Through our rapping impatience, we added not just a few hours but a full day to the adventure. What follows are my tips, learned from hard-earned experience, for making rappelling less dicey and more efficient.
- Zig-zag for safety. Make sure that each new station is to the side of your last anchor and protected should your rope pull down any loose rocks. Try to diagonal back and forth as you work your way down. In a pinch, you can stop directly below the previous station, but only if there is no loose rock above you or you’re protected by an overhang.
- Cordon off the cord. If the face is loose, or has ledges with loose rocks on them, you will end up pulling down some rocks. Play it safe and stack the rope as you reel it in from the last rappel. If rocks are falling near your rope, make sure to check it carefully each time for damage. Carry either athletic or duct tape for sheath repairs. If your rope suffers sheath trauma somewhere near the middle, it’s better to patch than to cut your cord in half. Try to cover the spot with one tight wrap of tape. If there is any core damage, consider the rope shot and salvage what you can of it. Note that the taped section will be difficult to feed through your rappel device and probably won’t work with an auto-blocking device.
- Clean and jerk. When you’re pulling the rope, try to anticipate the rope’s end as it begins sliding freely up and is about to pull through the anchor. Start pulling the rope quickly, speeding it up; just as it comes through the anchor, give it a strong outward jerk. Done correctly, this pulls the rope away from the wall and contributes to a clean, snag-free retrieval.
- Don’t feed the features. Avoid getting the rope snagged by carefully scoping for potential rope-eating flakes or boulders. If you see one, don’t try to rap by it. Stop and rappel either off the flake itself or somewhere nearby, out of harm’s way. In blocky, flakey terrain, like ridges and loose, low-angle alpine faces, play it safe and go short with one 200-foot rope. Stow your other rope in your pack or coil it around your neck.
- Carabiners make it cleaner. Rapping through webbing is inconvenient at best, very dangerous at worst. Use a carabiner at each anchor to speed set-up and reduce rope-pulling friction. Clip the rope through as you begin threading the rappel, then tape the gate completely shut. This prevents the rope from coming unclipped.
- Double up for more pleasure. Always carry two ropes. If you’re really concerned about weight, go with a 6mm or 7mm static as your spare rap line. For an easier pull, rig the rappels so that you’re always pulling the fat rope.
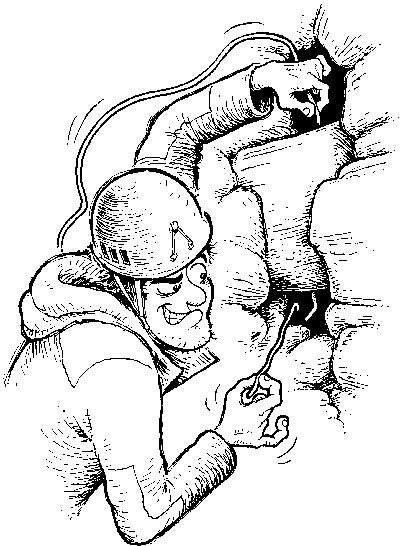
- Set up for success. If you know you’ll be setting your own stations, consider carrying 100 or more feet of 6mm accessory cord in your pack. Look for slings around blocks whenever possible. A v-threader, normally used for ice, works well for pulling cord through rock threads, behind flakes, etc.
Don’t Die Rappelling Off The Rope Ends: Use This Easy Closed System Instead