Published June 7, 2021 08:01AM
Sponsor Content: Lattice Training
How To Write a Training Program in 3 Steps
This guide from professional climber Tom Randall will help you create an effective and realistic training plan at home.
Not all climbers are able to have a training plan written for them by a coach – whether it’s for budget reasons or because they prefer to self-coach themselves along their climbing journey. If that sounds like you, then relax, because I’m going to take you through a 3-step process for writing your own climbing training program!
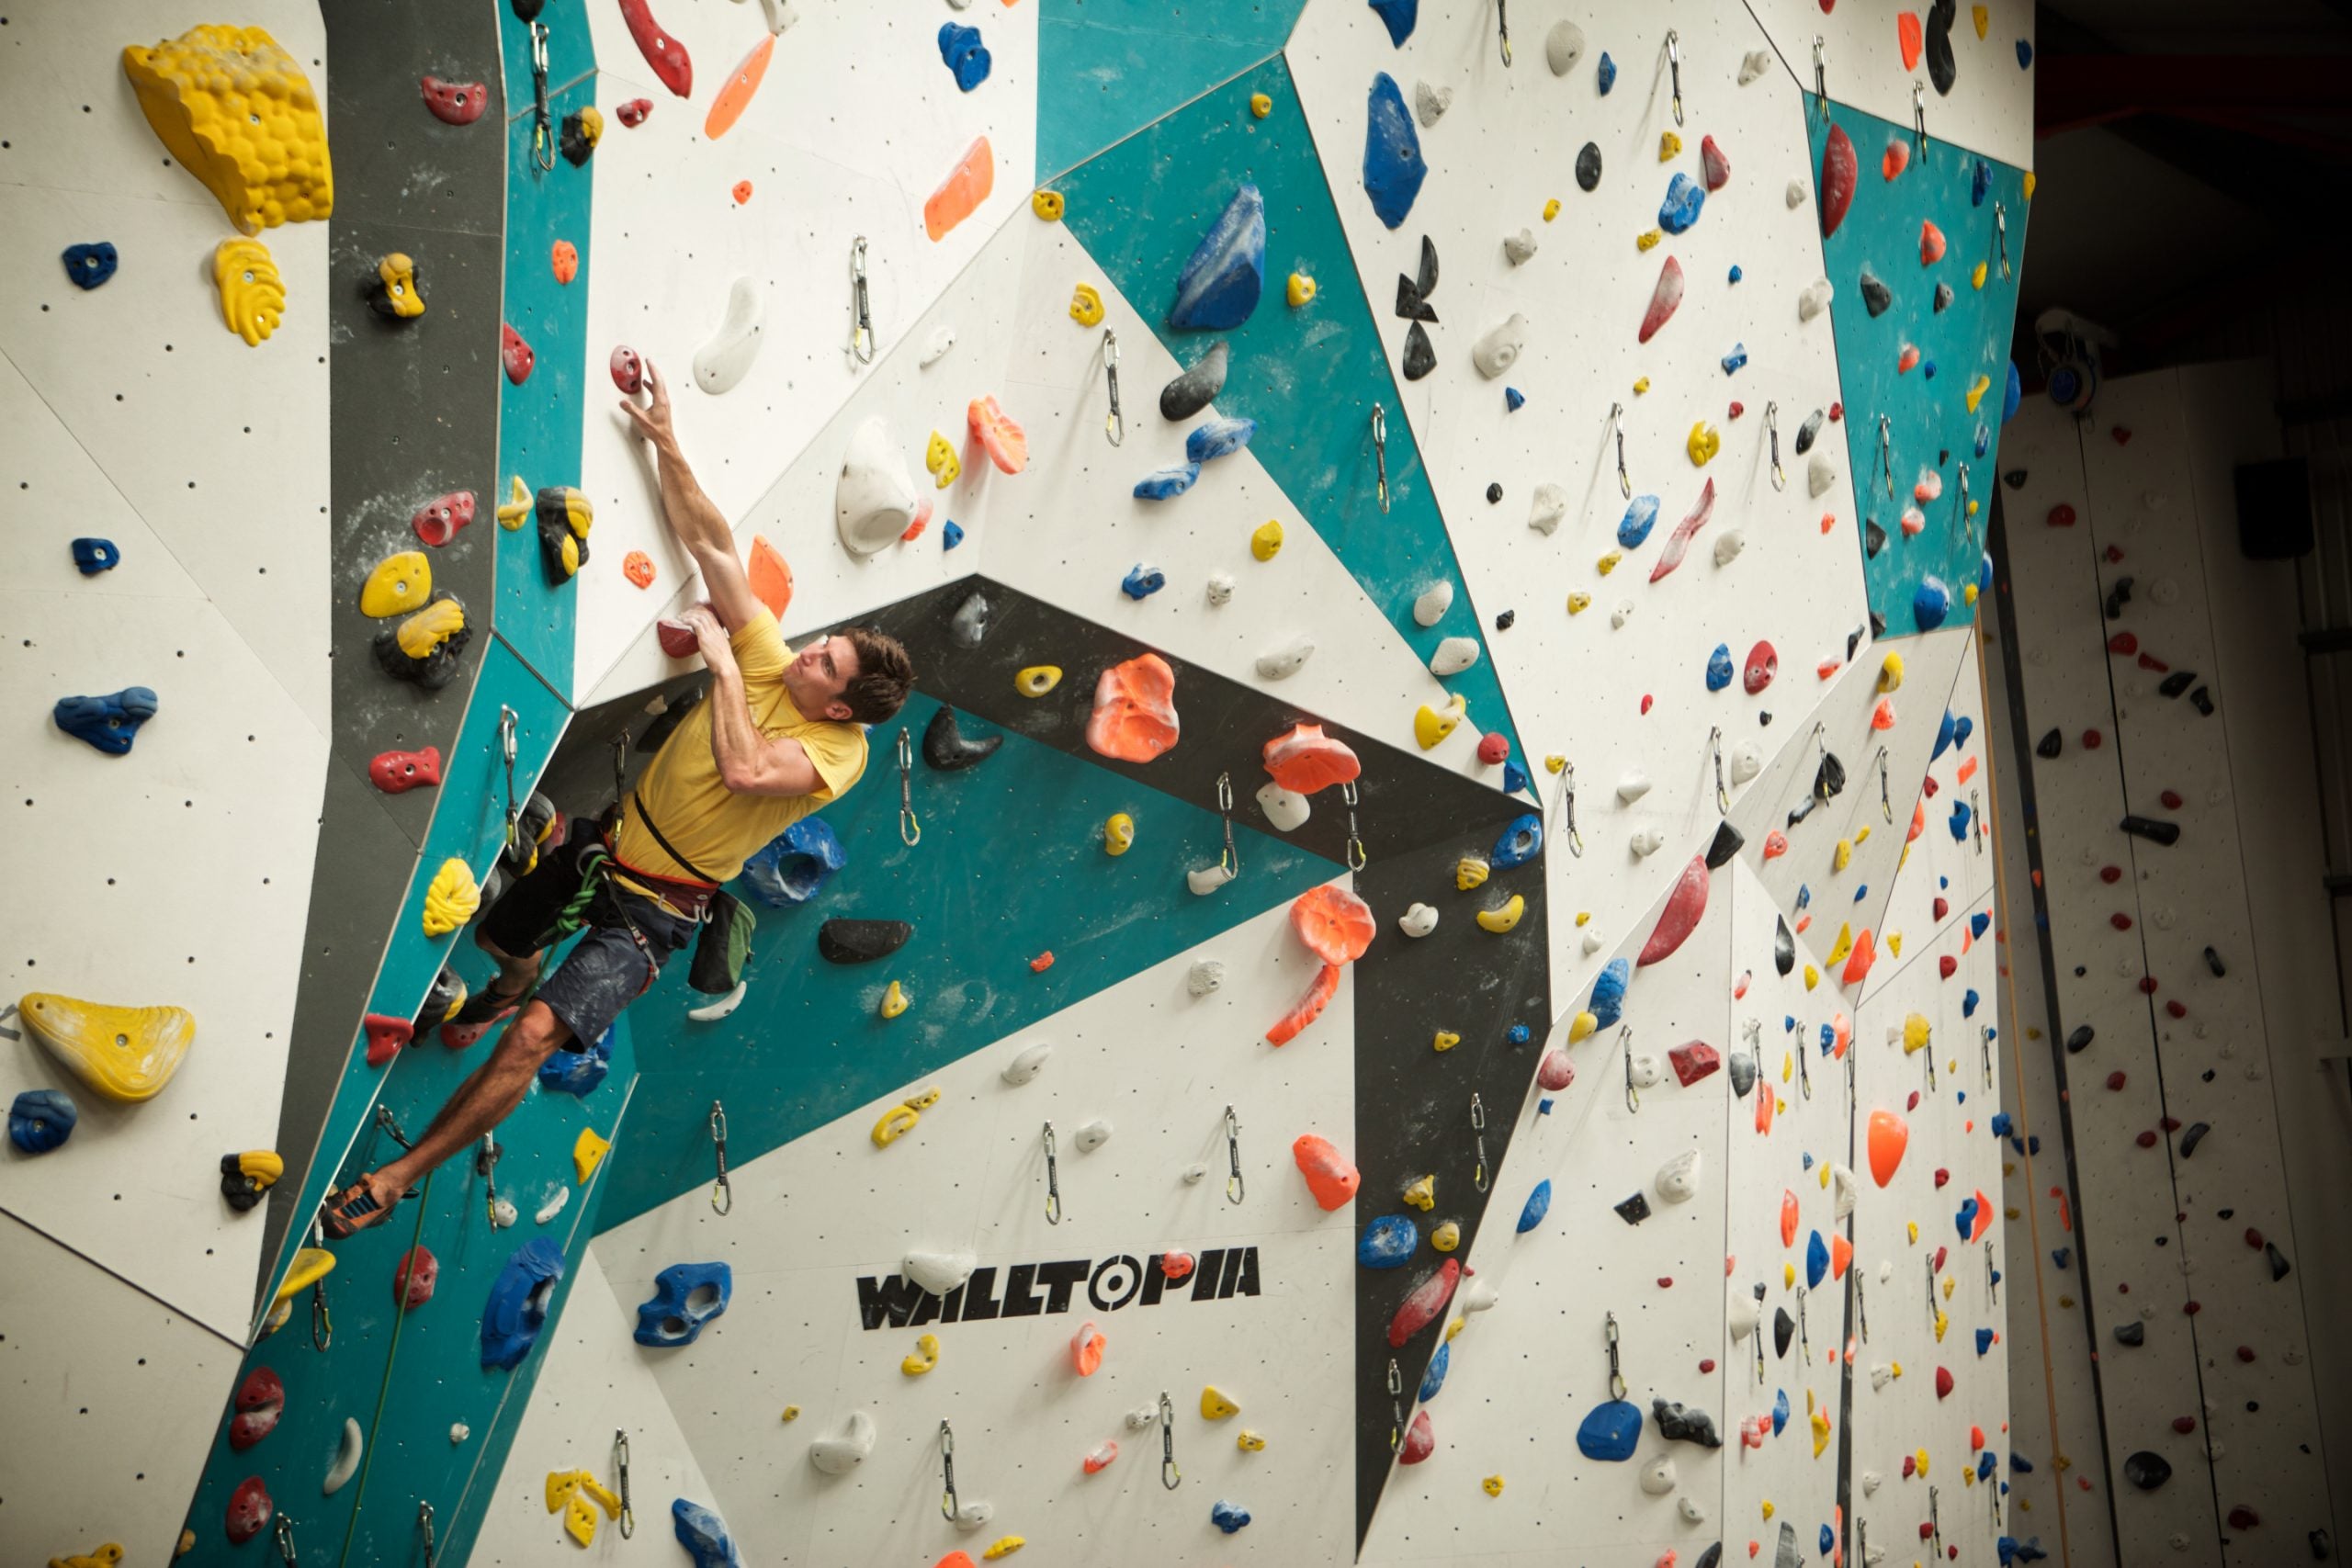
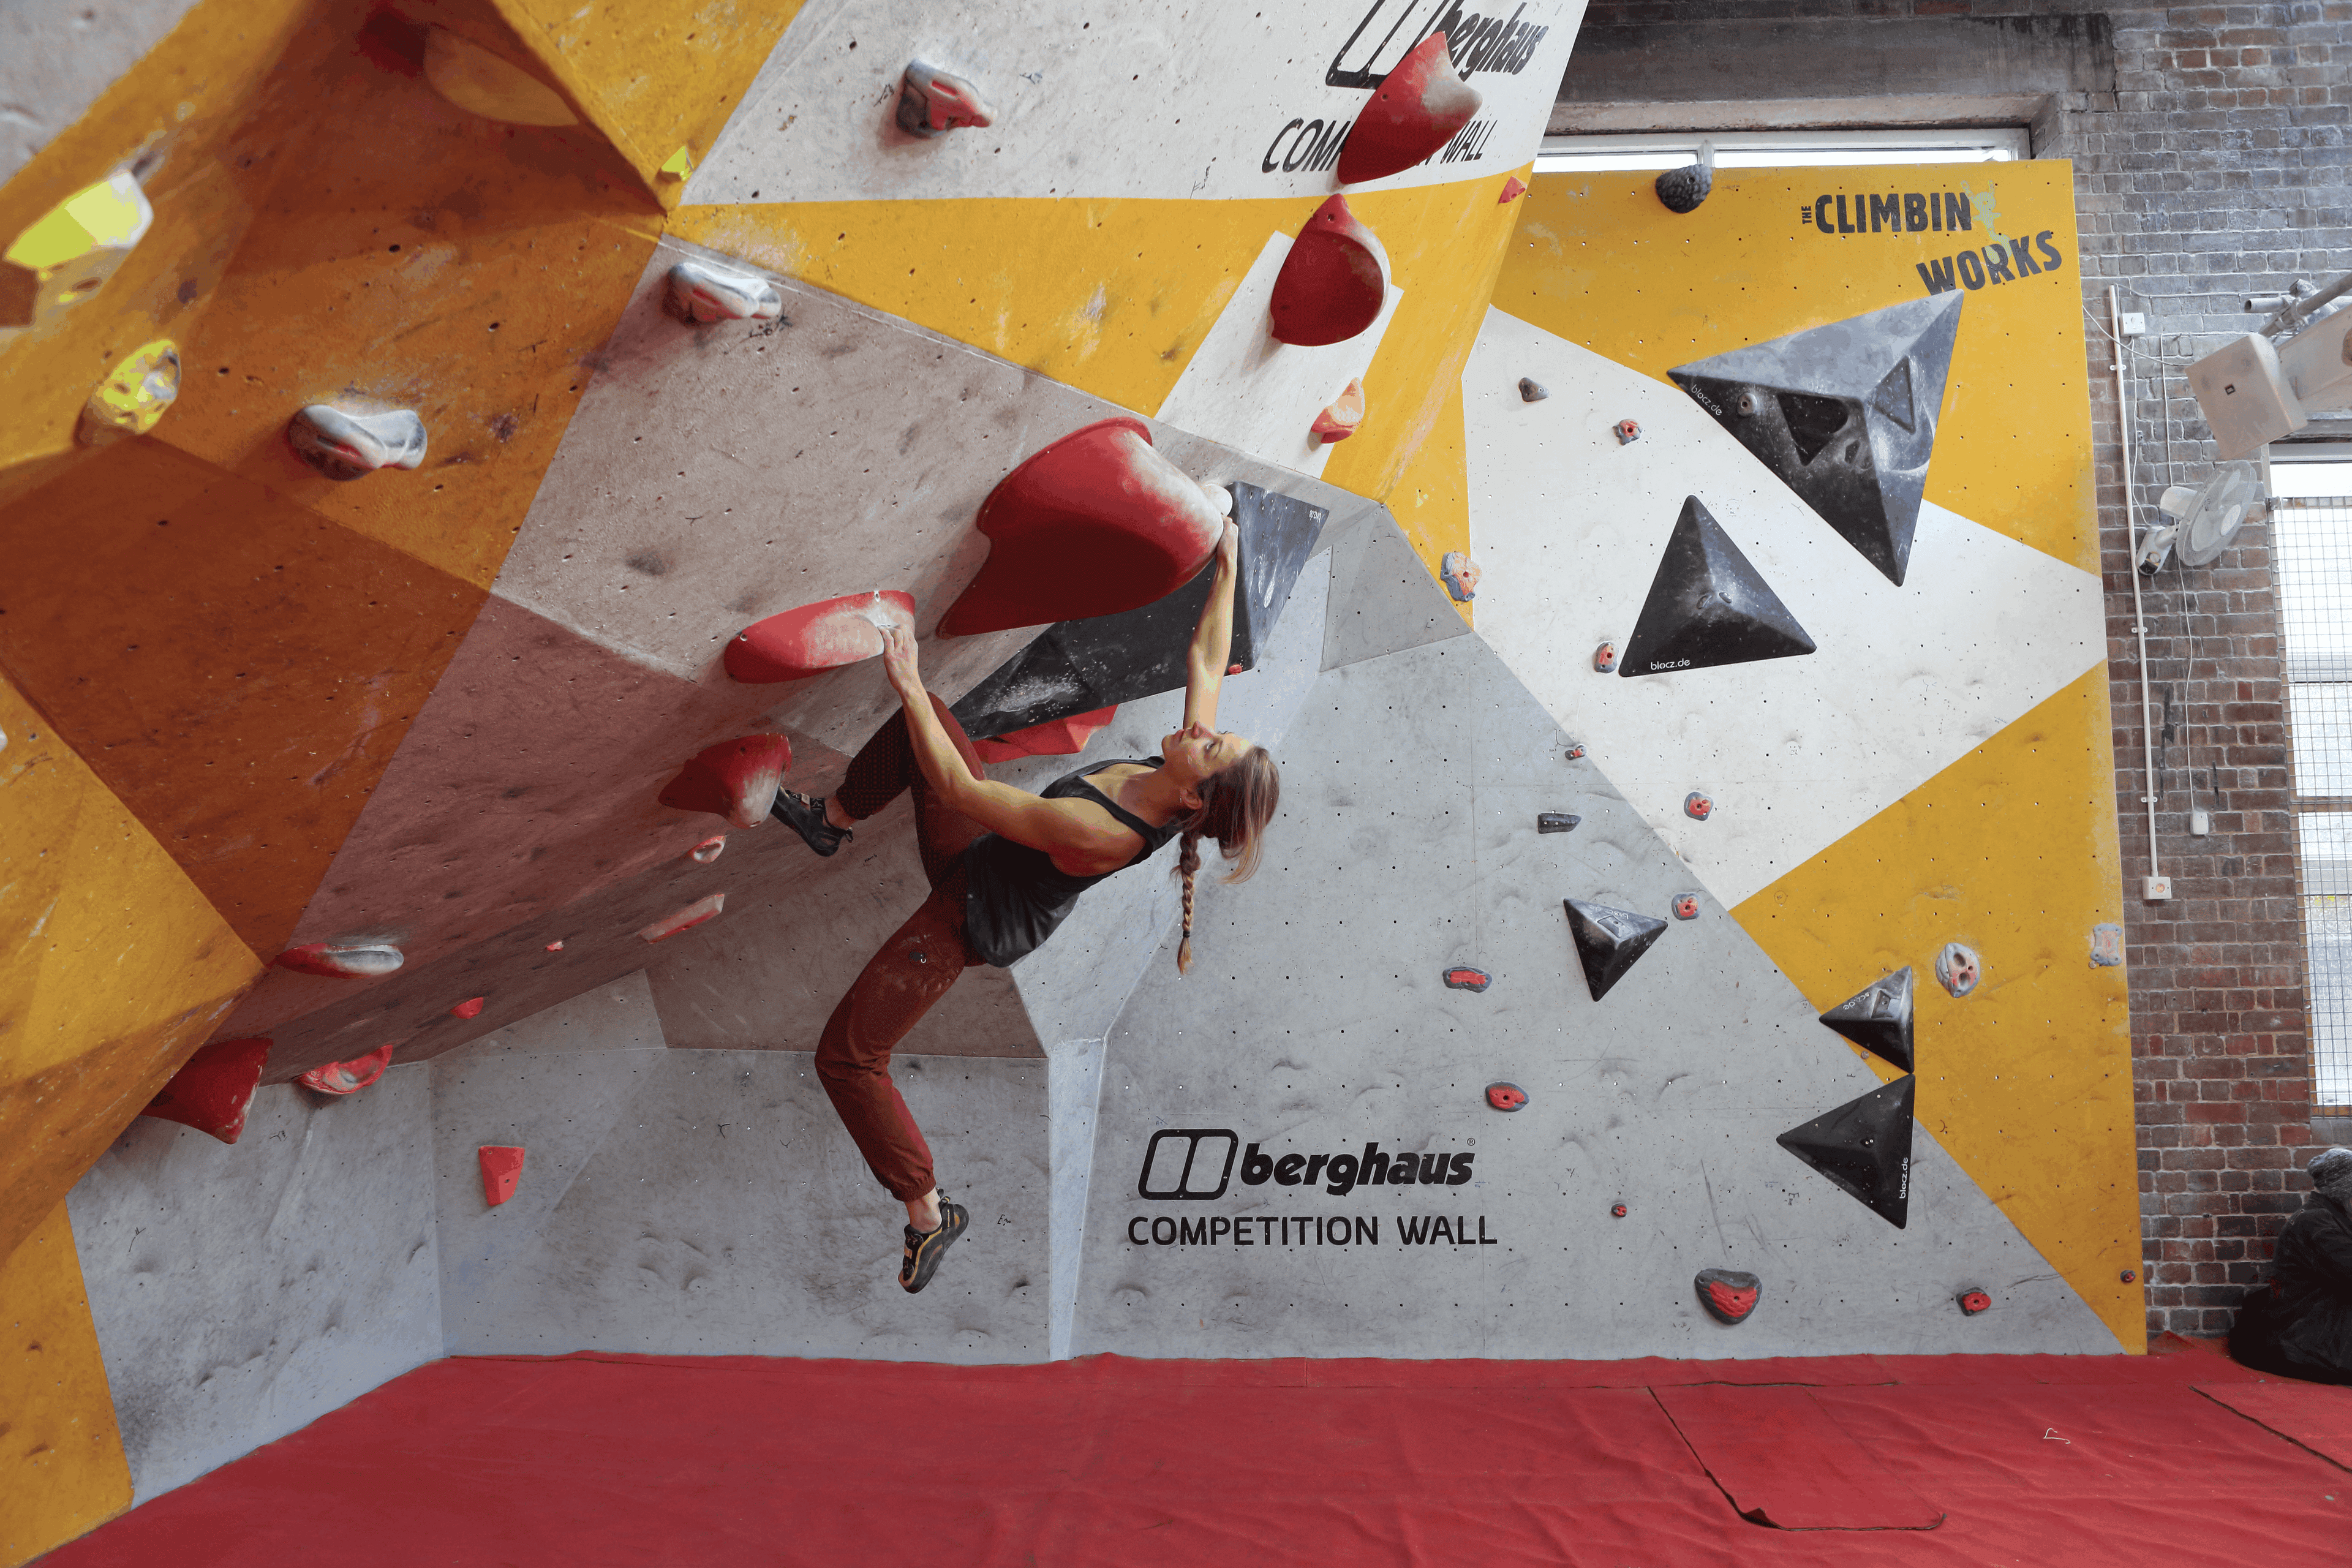
Whether you’re a sport climber, trad climber, a boulderer or a mix of them all, these methods will help you decide on your strategy for the year or season. Ultimately, the goal is to make more efficient improvements in strength, fitness or any other aspect of your climbing.
Success is built around three key considerations. The first is working out your “before and after” measurements, or performance metrics. Second is the timescale of the plan including priorities. Lastly is the structuring of your training and selection of individual sessions that work with your schedule and the facilities you have available!
Some important considerations before you start:
- Fingers: Without a doubt, this is the area of the body where we see the most injuries across all disciplines. This means that it’s the one you’ve got to pay the most attention to! Most issues occur when climbers step up the loading of their plan too much, too quickly. Keep reminding yourself to train like a tortoise and not a hare!
- Too much of the same thing: We all do it, because it feels good. We get into a preferred niche style of climbing or training and then constantly hammer it, such as climbing on a Moonboard for 9 out of 10 sessions. Do not do this. Keep it broad and maintain variety— your performance depends on it.
- Plan realism: Can you actually follow your plan? We watch climbers every year create brilliant plans, but they’re just not realistic on multiple fronts. You can only follow a plan if it’s completely realistic in the long term and won’t be sabotaged the first week.
- Motivation: Not all training is easy, in fact it’s exactly the opposite! Be careful to make plans for your sessions that are motivating to follow. If you don’t, it’s highly likely you’ll lose your psych within the first month or so.
If you would like some free suggestions and session ideas for any training sessions, you can download https://www.crimpd.com for free and use it in conjunction with your plan.
STEP 1 – Before and After
A good training plan is always underpinned by an understanding of where you’re at now and where you want to be. You need to ensure you have a way of tracking your progress and success!
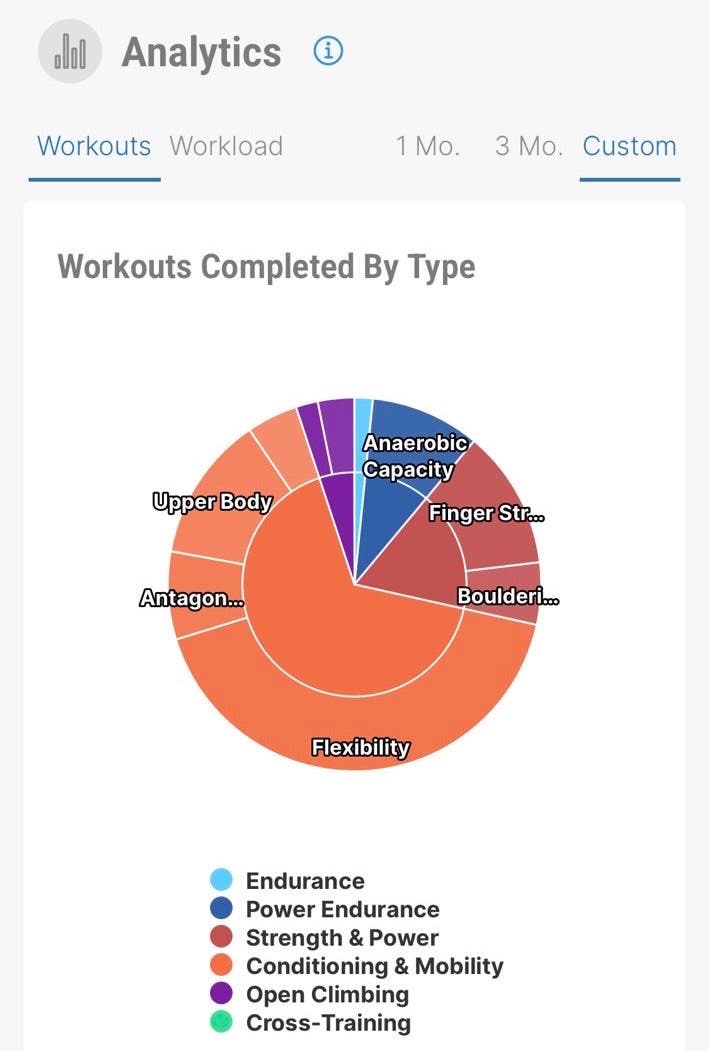
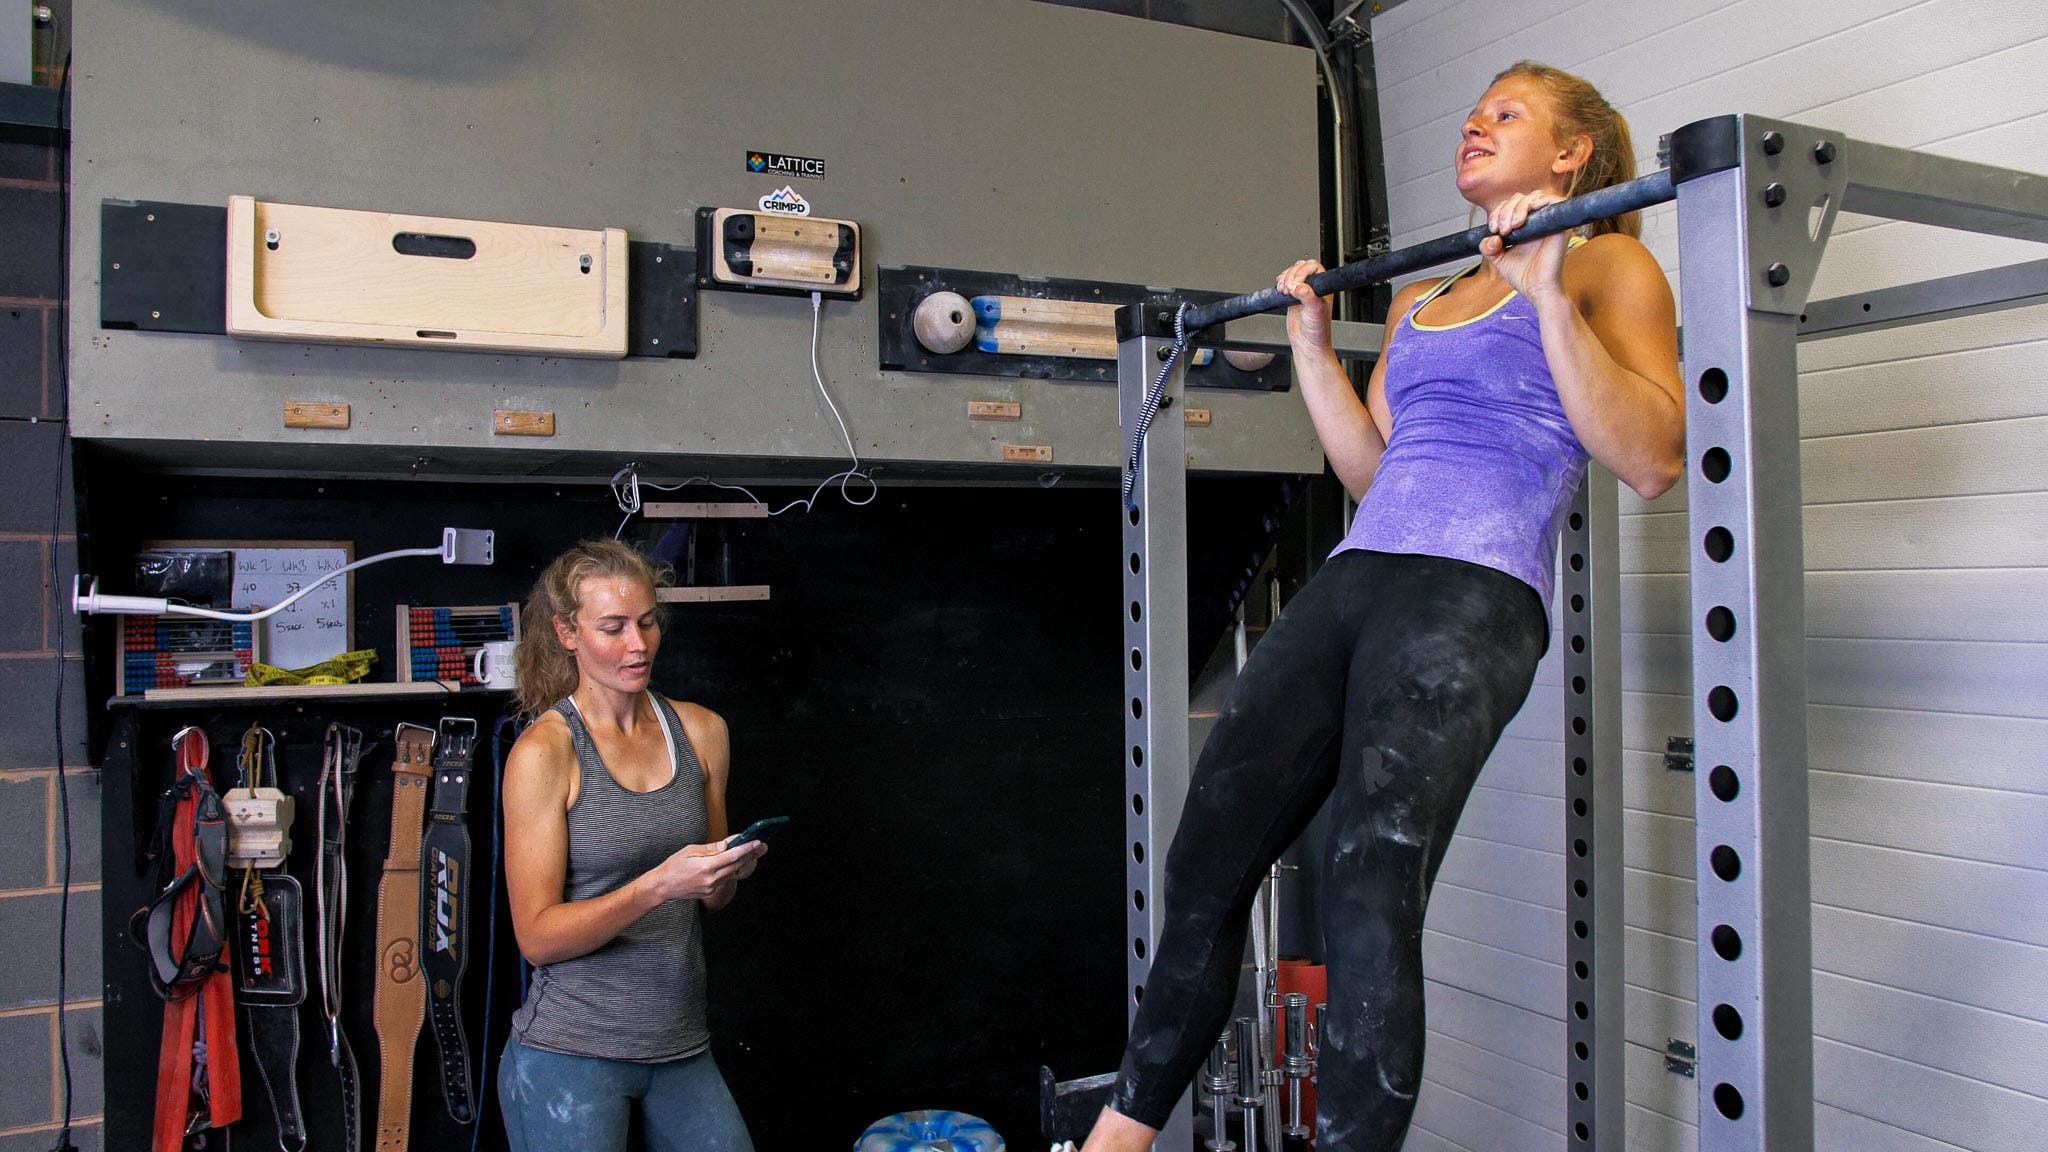
I’d like to suggest that all climbers look at three areas of performance which are practical and useful for measuring. The first is grade, because it’s the most specific performance indicator to your goals—after all, it’s the numeric way we describe the difficulty of climbing goals. Secondly, you should have some basic measurements of strength, endurance and flexibility. Most climbers nowadays are aware of how to test finger strength on a fingerboard and this is a great place to get started if you’ve already got experience in fingerboarding. If not, then pull ups or flexibility are a good option. Lastly, movement styles and your proficiency in specific areas can be measured quite easily—it’s as simple as “I couldn’t do a two-handed dyno in January, but now I’ve done over 10 from V2-V4!”
Tasks I Recommend:
- Write down six grades boundaries from where your maximum is right now all the way down the scale e.g. V6, V5, V4, V3, V2, V1. Then create a grid of what you ticked in each grade over the last three months. Now spend the next year tracking what you complete in three month blocks—it’ll tell you a lot!
- Decide on three basic training metrics you’d like to track. Try to keep them sport-specific and repeatable. It’s no good having a test that you’re only capable of doing once a year because the equipment is too hard to get hold of.
- List two types of climbing moves you find hard to execute now and describe what a successful outcome would look like e.g. “right now I can’t climb on steep terrain without my feet cutting loose, but in six months I would like to complete most steep V3s in the gym with controlled feet on my flash goes.”
STEP 2 – Timescales
Funnily enough, creating a timescale around a plan is a part that many people fall down on, because they see training as an open-ended task, which in some ways it is. However, without defining the edges of your plan, it’s very hard to fill in the steps in between. It’s also really important to factor in how much time you have to achieve certain improvements and whether this is even realistic. For example, power endurance fitness can be achieved within six to eight weeks, but lasting gains in strength (i.e. structural rather than neural) will take much longer.
The other element to timescales (or the timeline of the plan) that climbers typically neglect is how to account for holidays, family commitments, work, travel etc. We all know that these other commitments exist and will likely have an impact on training, so it makes sense to plan with them in mind! There really is no reason to bury your head in the sand.
Tasks I Recommend:
- Set a date for your goal and then allow for at least two weeks either side of it. Performance often doesn’t happen quite as you pinpoint, so plan for a “window” rather than a narrow “slot” of time.
- Look at each of your “before and after” metrics and describe how the progress to achieving them will look. This is often the point where you realise some of them may be unrealistic.
- Make a note of all your other life commitments that will occur during the training period and categorise them for their impact on your time, recovery, stress and nutrition. If you notice that there are three things all having a big impact on stress in a single month, it may be time for a reality check!
STEP 3 – Plan Writing and Session Choice
The last step—note that this is the last step, not the first—is to fill in the fine details of exactly what you get up to day after day, week after week. I’ve overstated this “last not first” ordering because over the last 10 years of teaching training plan writing to coaches around the world, I’ve noticed that this is the part that people always want to do first! They can’t wait to get into all the details of what’s going to happen to make the gains, but then forget about the big picture, which can seriously derail their own efforts.
This last step, in reality, takes a lot of practice and patience. Don’t expect to produce a perfect plan in an afternoon, but do make constant adjustments on your plans over the years as you learn more about yourself. I’ve been doing this for over twenty years in a variety of sports and I’m still learning how to do things better.
Because this last bit has a lot to it, Ollie has made a video below that walks you through the entire plan writing process, so you can watch it, pause it and work on your plan. If you want to skip steps 1 and 2, then just start at 5.27 in the video.
Don’t forget that like training, the planning part is also a process which you’ll improve at over time. Stick at it, as it’s well worth it!