Published March 26, 2019 11:07PM
Learn This: Efficient Jugging in High-Angle Terrain
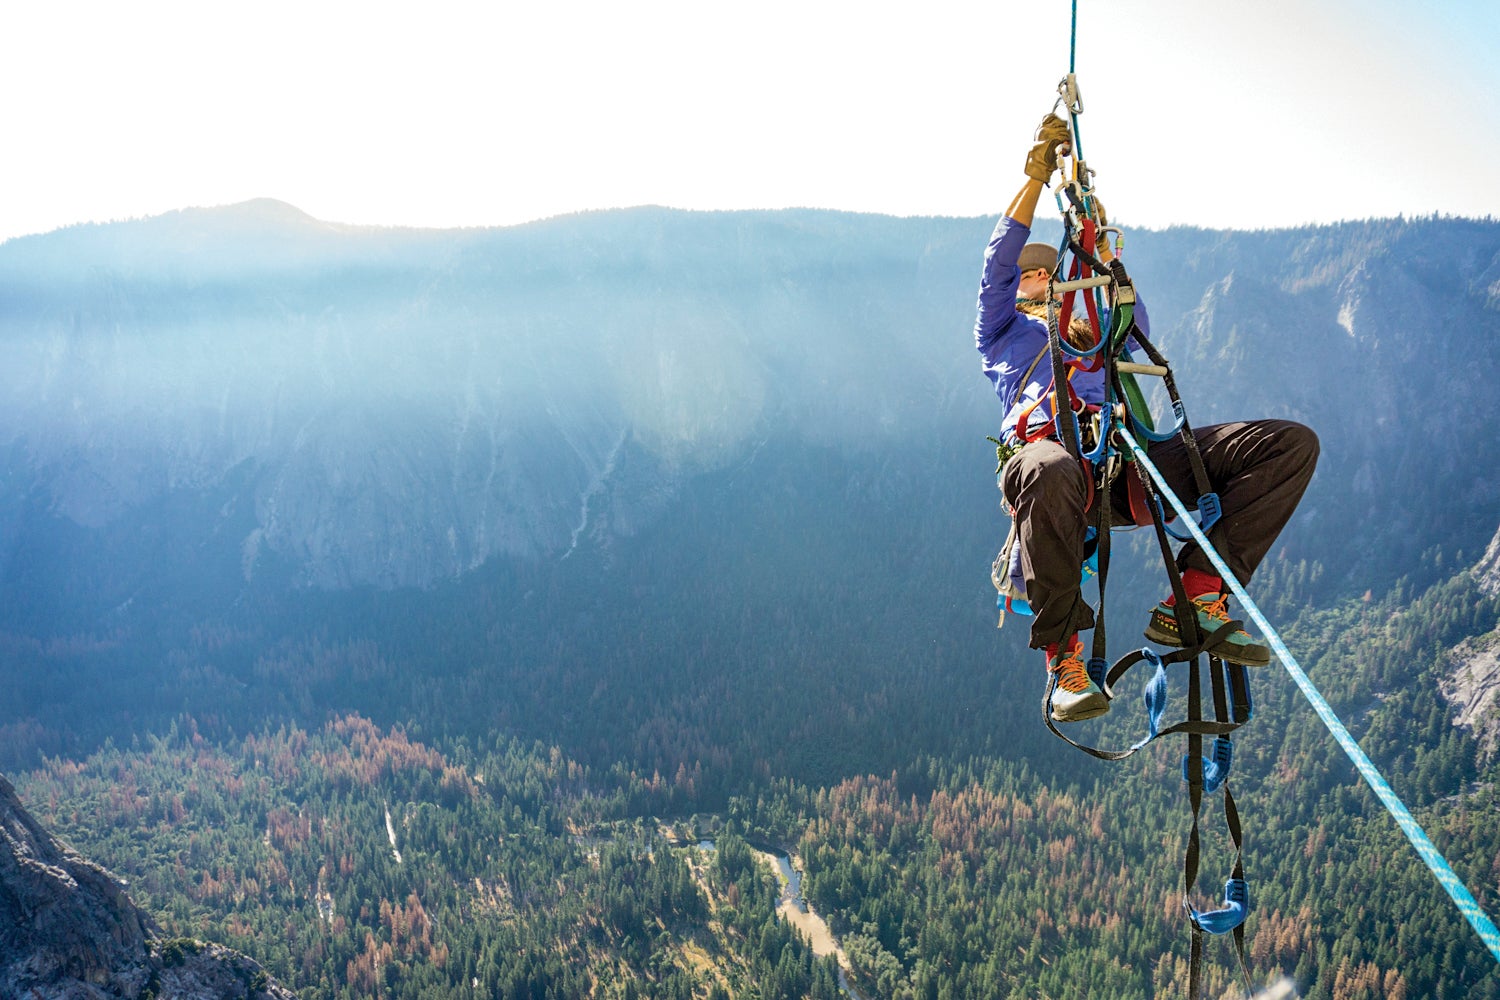
"Drew Smith" (Photo: Drew Smith)

As budding big-wall climbers, my friend and I racked up to climb the South Face of Washington Column, at 5.8 C1 the easiest wall in Yosemite. Partway up pitch four lies the infamous Kor Roof, a 60-degree ceiling jutting 12 feet from the wall. It is an easy lead (a few bolts lead into a C1 crack), but gains its reputation due to the difficulties the follower encounters ascending the rope while hanging in space then somehow passing the lip onto lower-angle terrain. We were no different: For two hours I waited at the anchor above, uneasily watching my friend flail and struggle as she tried everything possible to ascend the rope, even giving a rope soloist enough time to pass us. Her daisies were too long, and neither of us had any idea how to properly jumar on such steep terrain. Needless to say, we promptly headed down to practice more groundwork, including how to ascend fixed lines on radical steeps.
Effectively ascending a rope in overhanging terrain requires three things:
- Precision: Finding the ideal daisy-chain length.
- Technique: Small, steady movements.
- Perseverance: Over time it feels depleting no matter what, so you want to be efficient.
To set yourself up for success, first practice on a steep single-pitch route or in the gym, where you aren’t trying to make it to that bivy ledge before dark. Experiment with the methods below to find the exact arrangement that fatigues you the least. With practice, your movements will become smoother and more efficient.
ADVERTISEMENT
Tools
In becoming a more experienced big-wall climber, I have developed my ideal big-wall jugging kit. These are just recommendations; other brands or types of gear work well, too.
- Comfortable big-wall harness
- Gloves
- 2 ascenders: I like the Petzl and Black Diamond ascenders—grippy handles, and they’re lightweight and easy to use.
- 2 daisy chains: Yates adjustable daisies or Black Diamond nylon daisies—durable, heavy-duty nylon has stretch (safer if accidentally falling onto the daisy) and a longer shelf-life than Dyneema.
- 2 etriers: Yates Speed Wall Ladder, which has an intuitive design and generously sized steps.
- 2–3 small locking carabiners: Metolius Bravo locker—its compact size makes it ideal for clipping into ascenders.
- 1 plus-sized locking carabiner: If tying back-up overhand knots, the Petzl William is large enough to fit several knots at once.
- 3–4 straight-gate (not wire-gate) biners: Petzl Spirits—easy to clip, ideal shape, and a perfect balance between weight and durability.
- Back-up progress-capture or belay device: Either the Petzl Micro Traxion or a Grigri.
Technique
The technique below helps you expend less energy by using your hips, legs, and core rather than tiring out your biceps with pull-ups. Finding the exact setup that works best for you takes time, so be patient.
Attach your ascenders.
After ensuring that the rope is safely fixed, place both ascenders on the rope, having your dominant side as the higher ascender. Clip locking carabiners to each ascender.
ADVERTISEMENT
Attach your daisies.
Girth-hitch both daisies to the tie-in points on your harness (not the belay loop).
Adjustable daisies
Clip each daisy at full length into each ascender via the locking carabiners. Tighten the lower daisy, keeping about 6 to 8 inches of slack in it. Throughout every movement, the lower daisy should never be tight—think of it as a backup, only to be weighted if the upper daisy fails. Tighten the upper daisy to your optimal length—about 8 inches shorter than arm’s reach. As you ascend the rope, you can easily shorten or lengthen the daisy using the buckle.
Non-adjustable daisies
Clip the lower daisy onto the correlating jumar at whichever chain loop keeps about a half foot of slack in the daisy. Adjust the upper daisy to your optimal length—6 to 8 inches shorter than arm’s reach. To find this, clip the potential chain loop to the locking carabiner on the upper jumar and see how high you can reach. If it feels tight or loose, pick a different chain loop and try again. Make sure you aren’t double clipped (having two chain loops clipped together at once). Note which chain loops work for you for next time.
ADVERTISEMENT
Attach your ladders.
Put a straight-gate carabiner on each ladder and clip both ladders to the lower ascender. Having the ladders on separate carabiners will let you easily unclip and relocate them if necessary (e.g., when transitioning from overhanging to slabby terrain).
Top-clip the eyeholes.
In non-traversing terrain, I tend to only top-clip the lower ascender. This way I can quickly remove my upper ascender to pass pieces while cleaning. On traversing terrain, I’ll also top-clip the upper ascender to prevent it from coming off unexpectedly. Face the carabiner gates to the outside (away from your system) to avoid unintentionally clipping things together while ascending.
Remove slack from rope.
Slide the upper ascender as high as possible while also pulling down on the lower ascender or stepping into the lower etrier. Slide the lower ascender up and repeat until you can sit on the upper ascender with no rope stretch. Initially, you may have to slightly disengage the lower ascender in order to slide it up. You can also angle the lower ascender 45 degrees to the rope, which should let it slide up easily. Once there is more rope weight below you, the lower ascender will slide up easily.
ADVERTISEMENT
Back up your ascenders.
Slap your backup device on the rope. If you’ll be tying knots as a backup, plan to make a new overhand on a bight every 20 to 25 feet to clip into the plus-sized locker on your belay loop.
Double-check everything.
Ensure that you’re clipped in appropriately, that your lockers are locked, and that your ascenders are set at an appropriate length. Don’t leave anything behind at the anchor!
Begin jugging!
Sit on the upper ascender; lift both legs to slide the lower ascender up underneath as high as you can. Stand in both ladders and pull on the lower ascender while pushing the upper ascender as high as possible. You can keep your feet in each etrier, or have one foot flagging. Repeat—the technique kind of looks like a frog swimming. As you go, feel free to micro-adjust the top daisy to experiment with different lengths. If using non-adjustable daisies, unweight the upper jumar by sitting on your back-up device, and then readjust. Double-check your clip-in points with each adjustment.
Slow and steady wins the race
ADVERTISEMENT
As you jug, make small, steady movements—versus big, lurching ones—so as to expend the minimum amount of energy possible. You should be able to sit on the upper ascender and reach it without pulling with that arm. If the daisy chain is too long, it becomes difficult to reach the ascender—you’ll feel pumped, like you’ve been doing one-armed pull-ups.
When possible, kick off the wall as you push the higher jumar upward; this generates much-needed momentum. Now focus on raising your hips when sliding your lower jumar up, and use your legs as you leapfrog upward—they’re much stronger than your arms. Once you’re sitting on the upper jumar, relax your grip with that hand to avoid pumping out.
Above all, be patient as you work to master these techiques: With practice, you’ll soon find a quick, solid rhythm that becomes intuitive, and will be jugging smoothly up the steep terrain that once bouted you.
Cleaning gear in overhanging terrain
It’s too easy to jug up to and get pinned against a piece. Here are two solutions: one for gentle steeps and one for super steeps.
ADVERTISEMENT
Mildly overhanging
- Ascend high enough to reach piece, leaving a few inches of space between top jumar and rope-side biner.
- Unweight upper jumar by sitting on your backup device or lower jumar.
- Take upper jumar off rope and replace it on rope above piece; reposition your weight back on upper jumar.
- With the piece unweighted, you can now easily remove it.
Wildly overhanging
- Same as above.
- Find lower-out point—anything from a fixed piece with tat to a bolt with a biner. It should be adjacent to the piece you’re about to remove, or be the last piece pre-overhang.
- Pass slack bight through lower-out point and clip bight to a locker on your belay loop.
- Tighten bight by pulling on free strand of rope so your weight readjusts off jumars onto lower-out point, slacking the rope.
- Remove piece, then slowly lower out until in line with next piece.
Rope management 101
While ascending, assess the terrain. Are there protruding features that the rope can get stuck on? Is it windy? Will that contribute to your rope looping over blocks or into cracks? Stay aware. Even when using a backup device, tie knots as you go to keep your rope organized and less likely to get caught below you—when you reach the anchor, your rope already will be flaked so you can continue belaying your partner without having to reorganize. The only exception is if winds are low and you’re in steep terrain—and the rope can hang safely below you.
Alexa Flower spends half the year in Yosemite, climbing and working on search and rescue. She has climbed over 20 big walls, most recently as part of the first all-female Zodiac-in-a-day team on El Capitan.