Published October 6, 2021 03:40PM
Pete Whittaker's Five Ultimate Rules for Crack Climbing
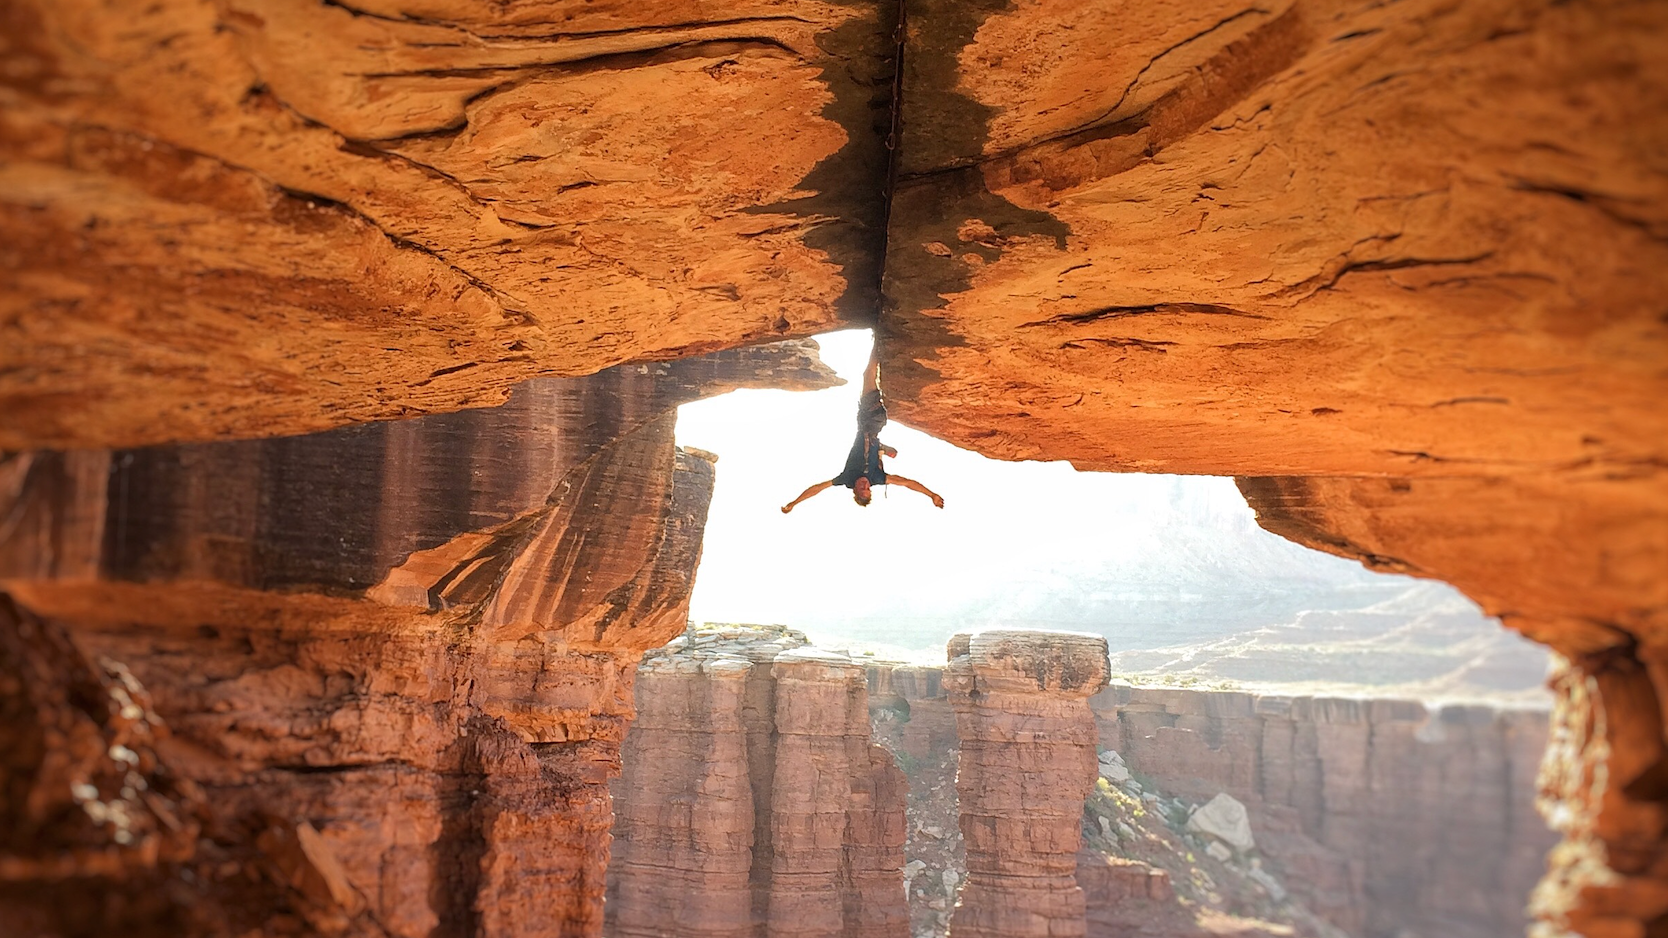
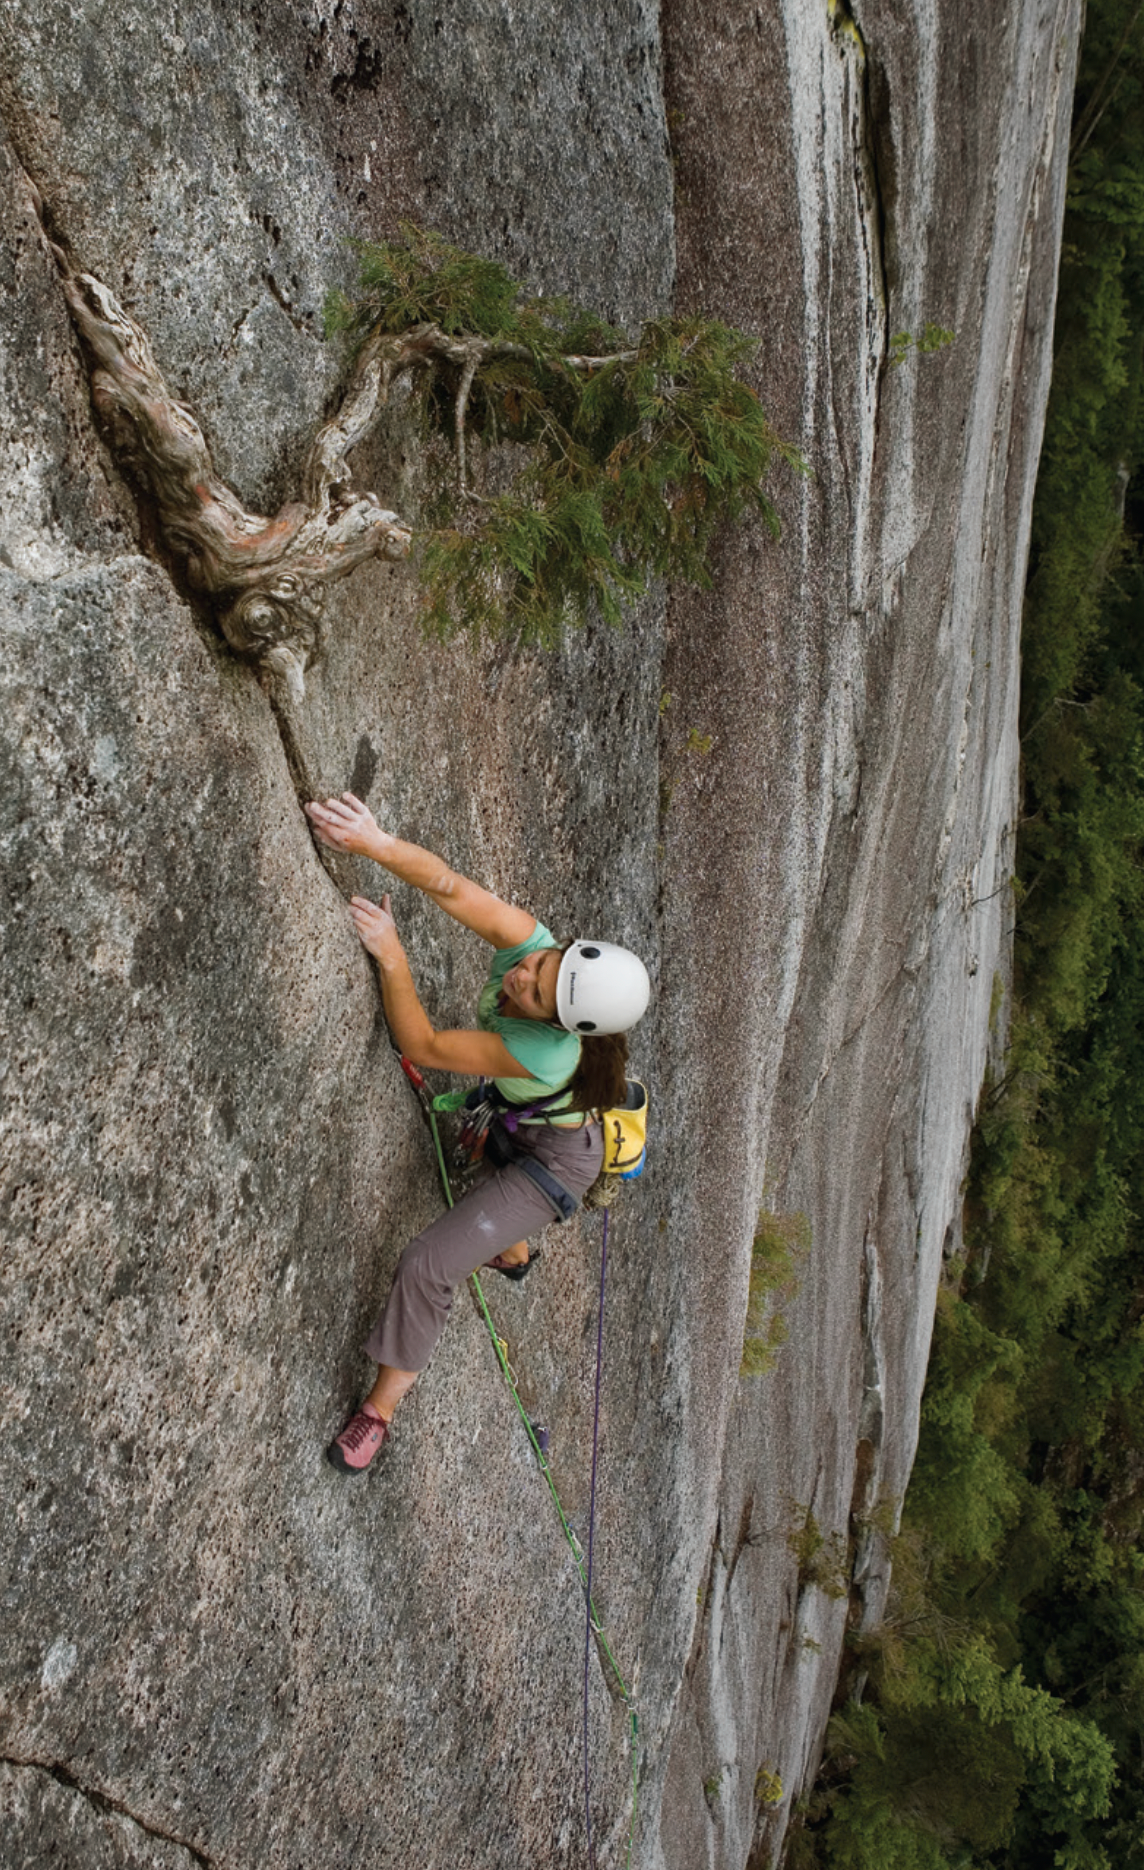
(Photo: Courtesy Pete Whittaker)
Excerpted with permission from Crack Climbing: The Definitive Guide by Pete Whittaker (Mountaineers Books, 2020). This book is an incredible resource for crack climbers of all ability levels. Before diving into the world of donut jams, hand stacks, and chickenwings, Whittaker outlines his five top tips.
There are five basic rules to abide by when it comes to climbing cracks. If you follow these rules and apply them to all aspects of your jamming techniques then you will experience less pain and a higher level of enjoyment and success. The different techniques and jams covered throughout this book will refer back to these principles; but while you might return to this chapter later, it’s important to make sense of these five rules at the outset.
Rule 1: Fill the space efficiently
Crack climbing is climbing the spaces between and inside the rock. So, with all jams, you should try to fill those spaces as efficiently as possible. You therefore want to insert as much of the body part you are jamming with inside the crack before you even start doing any of the techniques needed to execute the jam itself.
ADVERTISEMENT
Many people start performing the dynamics of the jam before the body part is fully in the crack. This means they get less crack. This means they get less
surface area of jam touching the rock—and therefore a poorer jam. Why use only two fingers on a large crimp when you could use all four? It’s the same with jamming: why insert only half of your hand when the crack can gobble your hand to wrist depth? Get that body part right in there.
There are three points to remember when filling the space efficiently:
- Put the body part going into the crack into its thinnest dimension/ orientation: a thin cross section means more of the body part can be inserted into the crack.
- Relax the body part going into the crack: a relaxed body part will be easier to wiggle and ease in and will better mould to the crack’s shape. A tensed-up body part will form a rigid block which will stop you getting it further inside. Let’s try to understand this concept better:
- Imagine you have a large, rectangular stone brick and you want to fit it through a smaller round hole (square peg/round hole concept). The logistics of this are impossible: first, the brick is larger than the hole you are trying to fit it through; second, its shape is different. However, imagine this brick was made of plasticine: you would be able to press, mould, and squeeze the plasticine brick through the hole to the other side. The stone brick is rigid and keeps its shape: it definitely can’t fit through the hole; whereas the plasticine brick is soft, malleable, and can
 change its shape to fit through the hole. So, make those body parts soft and malleable like plasticine when you insert them into the crack.
- Imagine you have a large, rectangular stone brick and you want to fit it through a smaller round hole (square peg/round hole concept). The logistics of this are impossible: first, the brick is larger than the hole you are trying to fit it through; second, its shape is different. However, imagine this brick was made of plasticine: you would be able to press, mould, and squeeze the plasticine brick through the hole to the other side. The stone brick is rigid and keeps its shape: it definitely can’t fit through the hole; whereas the plasticine brick is soft, malleable, and can
- Expand the body part and make it rigid (using one of the jamming techniques covered in this book) only when it is inside the crack: an expanded body part will fill the space more efficiently and will have more surface area in contact with the walls of the crack. And a rigid body part with a solid shape will struggle to come out of the crack. So, take that plasticine body part that you have just inserted
into the crack and make it rigid—and it won’t come back out! Winner winner jamming dinner.
These three points sound very simple, but people often neglect one of them—usually the first or second—which consequently makes it difficult to achieve a solid jam.
Rule 2: Use your body as a jamming device
When the part of your body that you want to jam with is inside the crack, you have to expand it to fill the space and make it stick. There are lots of different ways that this jamming and expansion can be achieved.
Let’s imagine your body is a rack of gear, with lots of different shaped and sized pieces. What you do with your body when you are crack climbing is the same as what you do with your climbing gear: insert it into cracks.
ADVERTISEMENT
A rack of gear has lots of pieces of different sizes, from the smallest micronuts through to the biggest cams and Big Bros. Likewise, your body has lots of different size options available to insert into the crack, from the diameter of your little finger right through to the length of your whole body.
Your gear has lots of options for ways it can expand and twist to make sure it sticks in the rock. Your body also has lots of twisting and expanding mechanisms thanks to the movement in your joints.
Your gear generally needs two or more points of opposing pressure to stay in place. Your jam also needs two or more points of opposing pressure on the crack walls to make it stick. (It’s important to remember that a jam will only work when body parts are touching both sides of a crack feature.)
There are two ways that your body can jam: passive and active.
Passive (like placing a nut): the jam is created by constrictions in the rock which allow a body part to be slotted in and wedged, enabling your jam to stick. The jam works because the constriction becomes too small for the body part to pass through. This type of jam requires minimal strength so you should try to use this type of jam as a first option.
ADVERTISEMENT
Active (like placing a camming device): the jam is created by a range of movement from you—either by twisting, rotating, or expanding. A downwards force (your weight pulling on the jam) along with this movement of the jam creates outwards pressure and friction on the crack walls enabling your jam to stick. A downwards force (or pull) is hugely important in making the jam stick. Let’s try to understand this concept better:
Imagine you placed a camming device into the rock and hung a car from it. It would be impossible to retrieve this camming device; you wouldn’t even be able to move it. However, if you swapped the car for a feather, you would be able to move or rotate the cam easily inside the crack and retrieving the camming device would be simple.
The same principle applies to jams. The more weight you put through a jam, the better it will stick (provided that your force of outwards pressure against the crack walls can match up to the weight you are putting through it). So, if you lean back, put your weight through it, and trust the jam, it will feel more positive. Maybe climbing with a car attached to you would in fact make it easier!
Passive (Stationary) Jams
Chock Jams
The crack will give you wider and narrower spots (constrictions) to jam between. If you first insert your jam into a wider part and then slide it into a narrower part, it will automatically lock—with no effort required from you—due to the constriction in the rock being smaller than the body part you have inserted.
ADVERTISEMENT
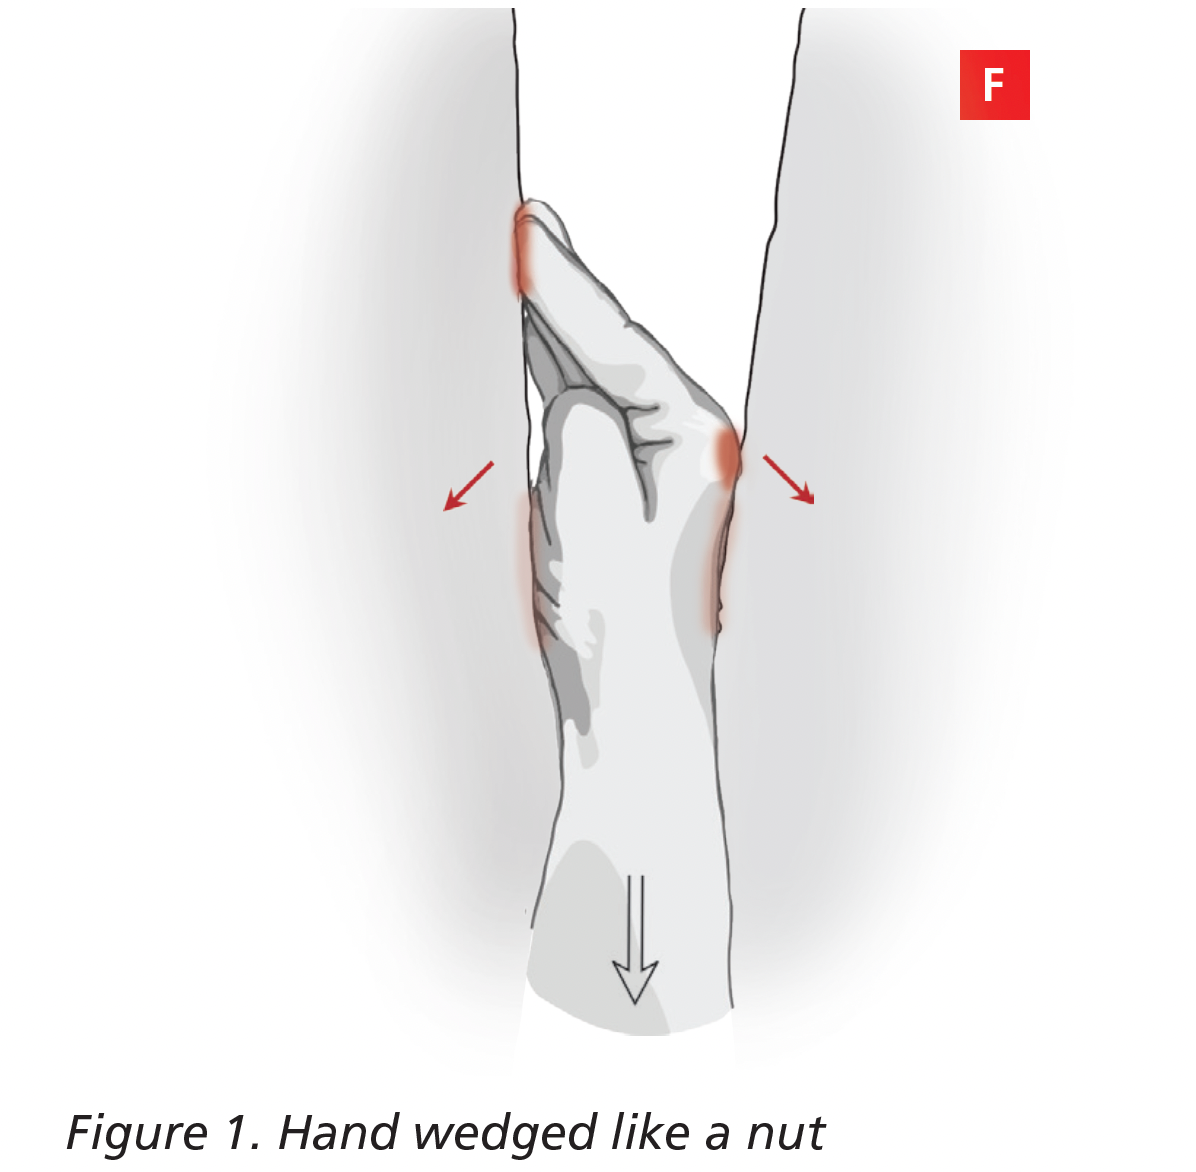
You should always look for passive jams first as they require the least amount of strength. Your body gives you lots of different sizes of chocks to place, ranging from the sizes of your fingers and toe knuckles, right up to your body as a whole, with everything in between—hands, feet, knees, and so on. No strength or twisting is required from you to secure the jam; it is naturally secure as it is not able to pass through the narrowest section of the constriction. The gear example is the placing of a nut: an equivalent jam would be sliding a hand jam into a constriction (figure 1).
Expansion Jams (Passive)
It is possible to place into a crack a body part which is larger than the crack entrance itself. The body part you are inserting just has to be able to mould to the crack’s shape, so a softer exterior to the body part you are inserting works better for this—your forearm or your leg, for example. If you manage to put a body part into a crack which is bigger than the crack itself, the body part will naturally want to expand back to its original shape. This passive act of expansion is what makes this kind of jam stick.
Instead of a gear example, imagine an unpoppable balloon. If you pushed an unpoppable balloon into a crack, it would narrow to fit through the gap, but would then want to expand back to its original shape. By expanding, it would exert opposing outwards pressure on the walls and therefore would stick inside. Exactly the same principle works when you are squeezing your body part into a crack. Your forearm or your leg should be like an unpoppable balloon. Bear in mind that this will work with only a few body parts, as not every body part can squidge down easily and then expand again . . . without breaking bones!
ADVERTISEMENT
Active (Movement) Jams
Twisting Jams
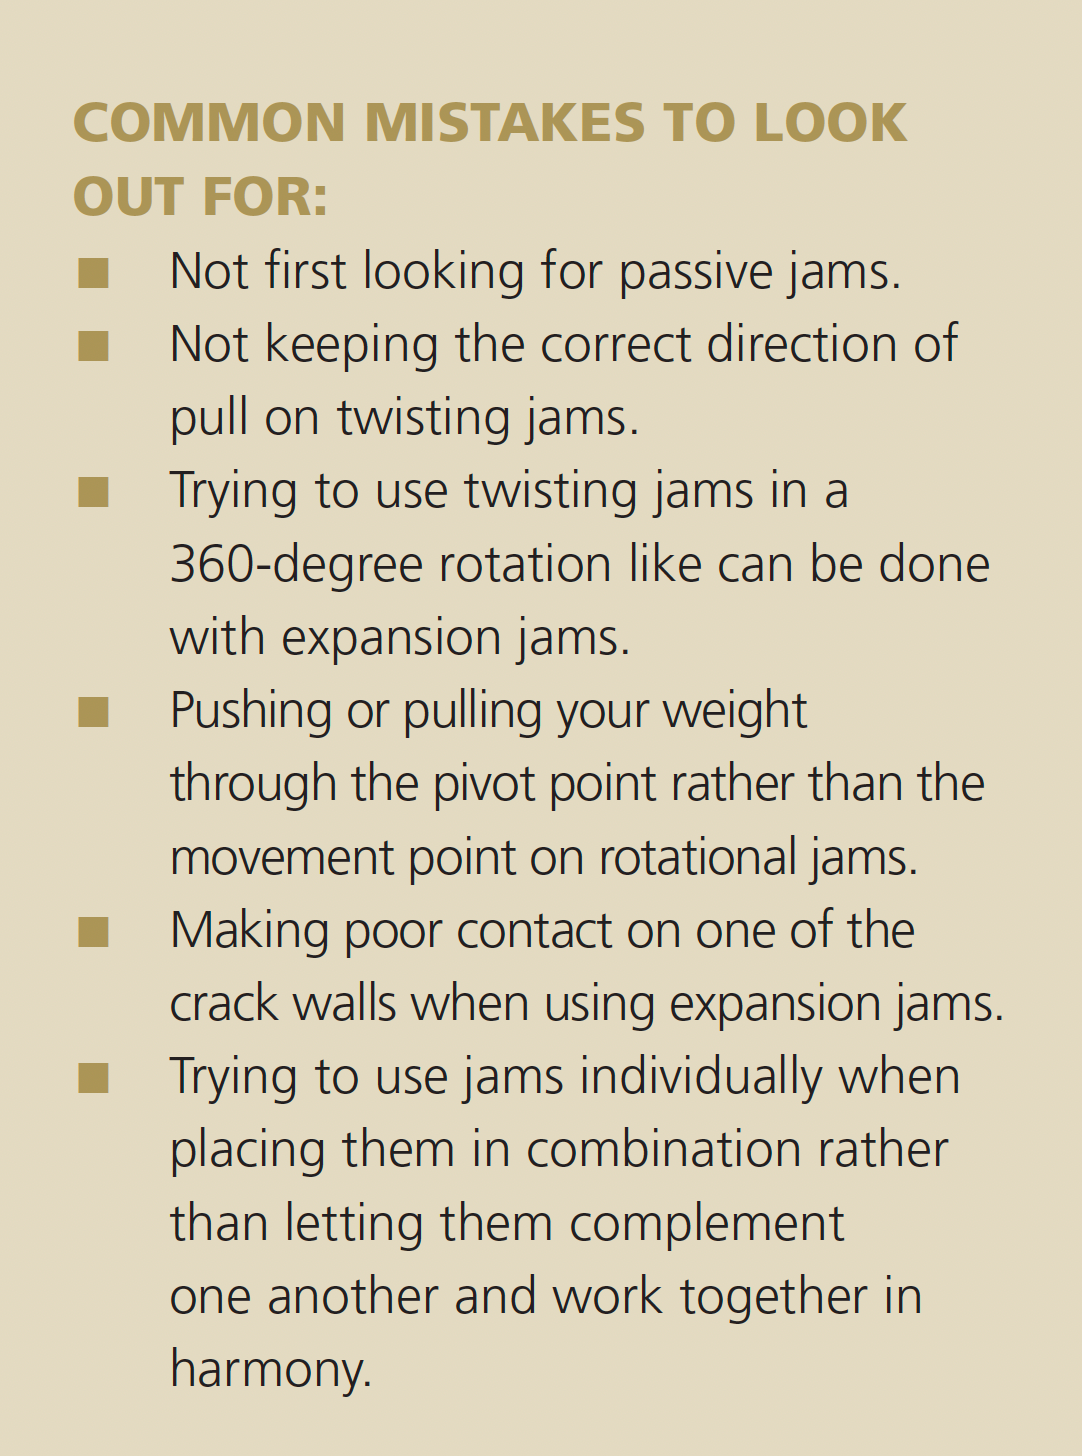
If you insert a body part into the crack in its narrowest profile, when you twist it, it will give you a bigger profile, helping you fill the space and create the opposing pressures needed on the crack walls to make the jam stick. The movement of a body part outside of the crack can act as a lever to help generate a greater twist (although it should be noted that a lever doesn’t necessarily have to be used to create twist). For example, the movement of the forearm, when executing a thumb-down finger jam, emphasises the twisting of the fingers inside the crack. With twisting jams, it is important to pull or push in the direction that the lever is moving. So, with our finger jam example, the lever is moving down, and this means you should keep a consistent downwards pull. If you start to pull out or up the jam won’t work. The gear example is the twisting of a cam hook.
Rotational Jams
This is where one side of a jam remains stationary and acts as a pivot point for the other side of the jam (the movement point) to move around. Where the movement point of the jam touches the crack wall, an outwards/downwards force is exerted from your body weight. This force creates an outwards pressure against the crack walls at the pivot and movement points, making the jam stick. The gear example is the rotational forces of a Big Bro; an equivalent jam would be the rotation of the forearm in a chickenwing jam.
Expansion Jams (Active)
This is a jam that acts like a camming device. You insert a part of your body into the crack in one shape, then when it is inside the crack you can tense, expand, or reshape the jam to make it bigger. A downwards force (your body weight), along with the outwards force put on the crack walls via the expansion of the jam, is what makes the jam stick. It differs from a passive expansion jam because you are actively tensing, expanding, or reshaping the body part.
ADVERTISEMENT
Expansion jams are particularly useful because you can pull in a 360-degree rotation around the jam and it should be just as solid in any direction: you can either pull down, out, up, or push away on the jam. For example:
- Pulling down: the jam is used in the same way you would use any jam. You pull down on it in order to move your body up.
- Pulling out: this could be used if you are at the start of a horizontal section after climbing some vertical terrain, for example at the start of a roof. You make an outwards pull on the jam in order to reach out into the horizontal roof.
- Pulling up: this could be used if you are undercutting and need to pull up on the jam in order to make a move up.
The gear example is the expansion of a camming device; an equivalent jam would be the expansion of a hand jam.
Combination Jams
You can use single or multiple body parts for combination jams.
- Using single body parts: a single jam can be inserted into the crack and then two or more of the above techniques can be performed at the same time. This often creates a much more solid jam. An example of this would be using the active expansion and twisting actions in the cup and twist technique for a hand jam (see Chapter 3).
- Using multiple body parts: if a single body part isn’t big enough to fill the space on its own, you have to use a combination of jams. All of the above techniques, either passive or active, can be used in combination with multiple body parts. The gear example is using a slider nut; an equivalent jam would be using different combinations of hand stacks.
ADVERTISEMENT
Rule 3: Keep everything in line with the crack
All body parts should be twisted and orientated in such a way that makes their final position—before you move up on them— parallel and in line with the crack. Let’s try to understand this concept better:
Imagine that climbing a crack is like climbing a ladder. Easy! The legs of the ladder represent the edges of the crack and each ladder rung is a jam. Now imagine you’re climbing the ladder and your limbs and body are parallel with the ladder’s legs. Your elbows will be pointing downwards as this generates the best force for pulling yourself up with your arms. Your knees are pointing upwards as this generates the best force for pushing yourself up with your legs.
ADVERTISEMENT
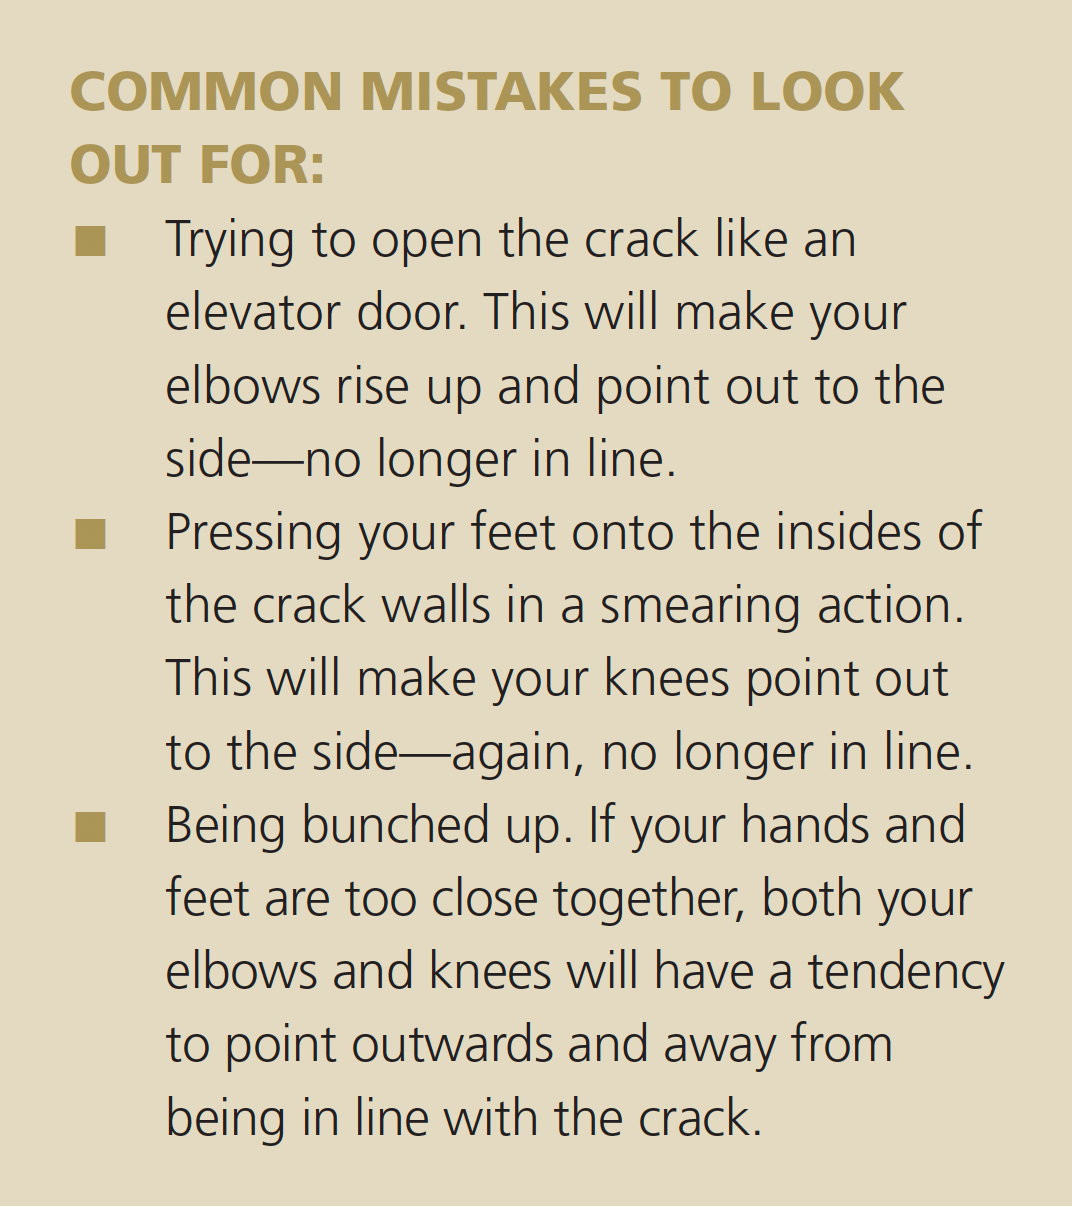
If your elbows and knees start twisting out to the side, then this will affect their ability to pull up and push down on the ladder’s rungs. It will start to feel like you are pulling and pushing outwards to the side—and climbing efficiency will be lost. Exactly the same principles apply when climbing a crack: elbows should be down and knees should be up. When everything is in line with the crack, effective jamming is in action. If your body parts aren’t in line, you will not be able to pull up and push down as effectively. Climbing a crack is like climbing a ladder.
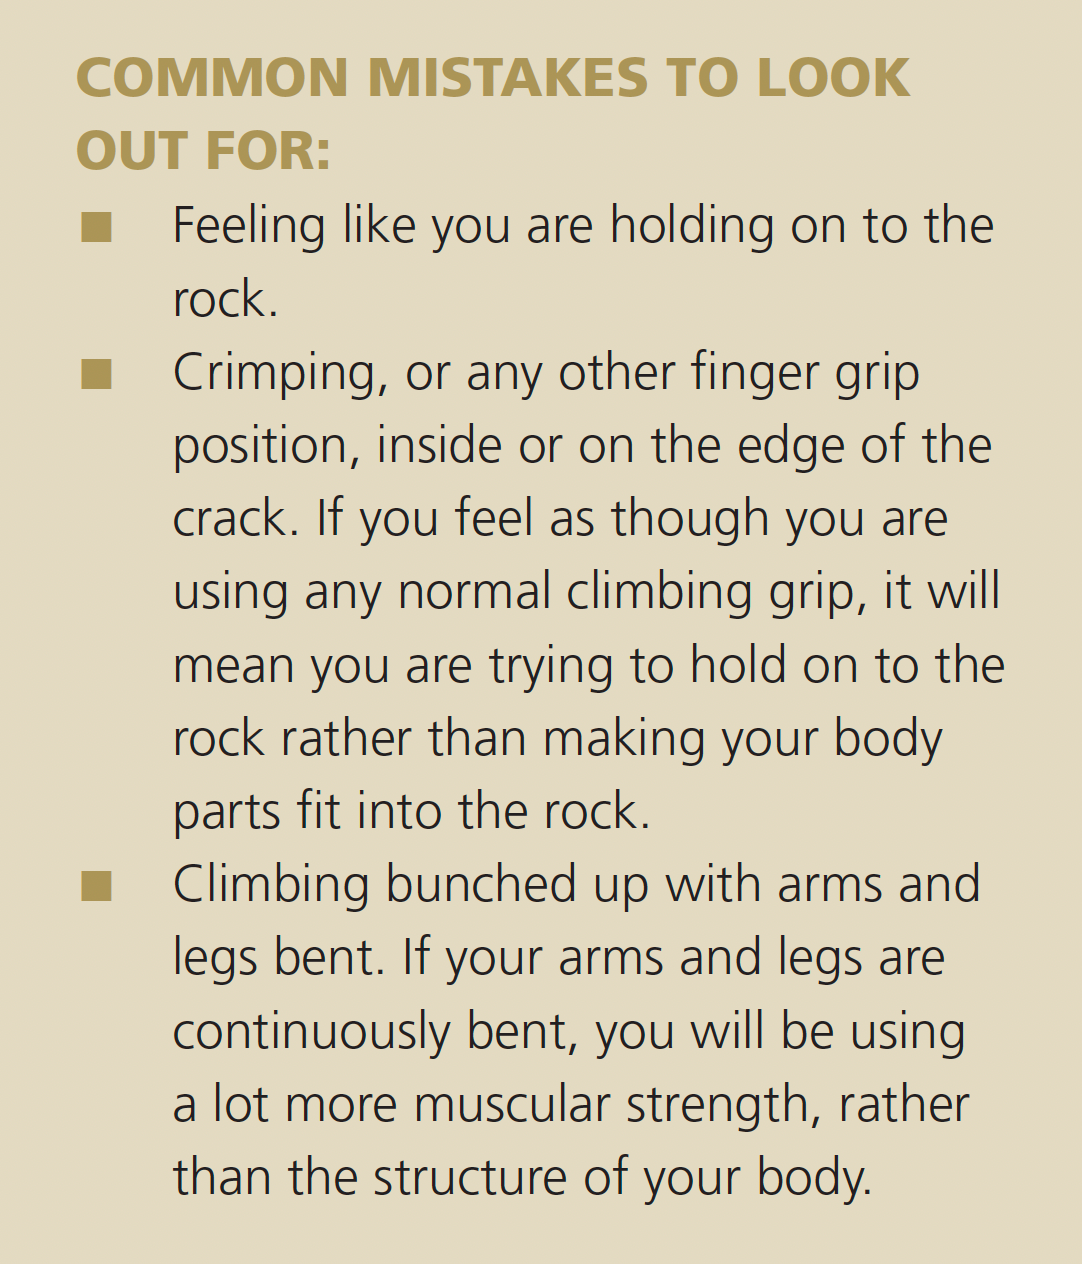
Rule 4: Use structure not strength
With all crack climbing, you use the frame (structure) of your body to stay in and on the rock. Joints, ligaments, and bones: you are aiming to lock these into the crack in such a way that you can hang off them using minimal or no muscle/ tendon contraction.
Imagine a body with no soft tissue, just a skeleton with ligaments holding the bones together. If you twisted, rotated, and expanded the skeleton’s bones you would be able to create shapes which could fit and lock into cracks without any “holding power” from the absent muscles and tendons. This is what you are trying to achieve when using your body in a crack.
ADVERTISEMENT
You are locking your body into the rock. Not holding your body on to the rock.
- Joints twist, rotate, flex, and extend. If you perform these actions correctly for the right size crack they will automatically lock, and you will only need to use limited holding power. Use these actions to lock your body into the rock rather than holding yourself on to the rock.
- Ligaments hold the bones and joints together and stop them from separating. When you hang from the joints, you are also hanging from the ligaments. Hanging from joints and ligaments uses a lot less energy than hanging from muscles and tendons. Imagine dangling off a pull-up bar one-handed: you would be able to do it for a lot longer with a straight arm (hanging from bones and ligaments) than with a bent arm (hanging from muscles and tendons). This means you can hang from the rock using your body’s structure rather than its strength. This is a valuable tool: make sure you use it.
- Bones are different sizes and widths. If you slot your bones into the correct sized crack they will jam without you having to use any strength. Use different sizes of bones to lock yourself into the rock, instead of holding yourself on to the rock.
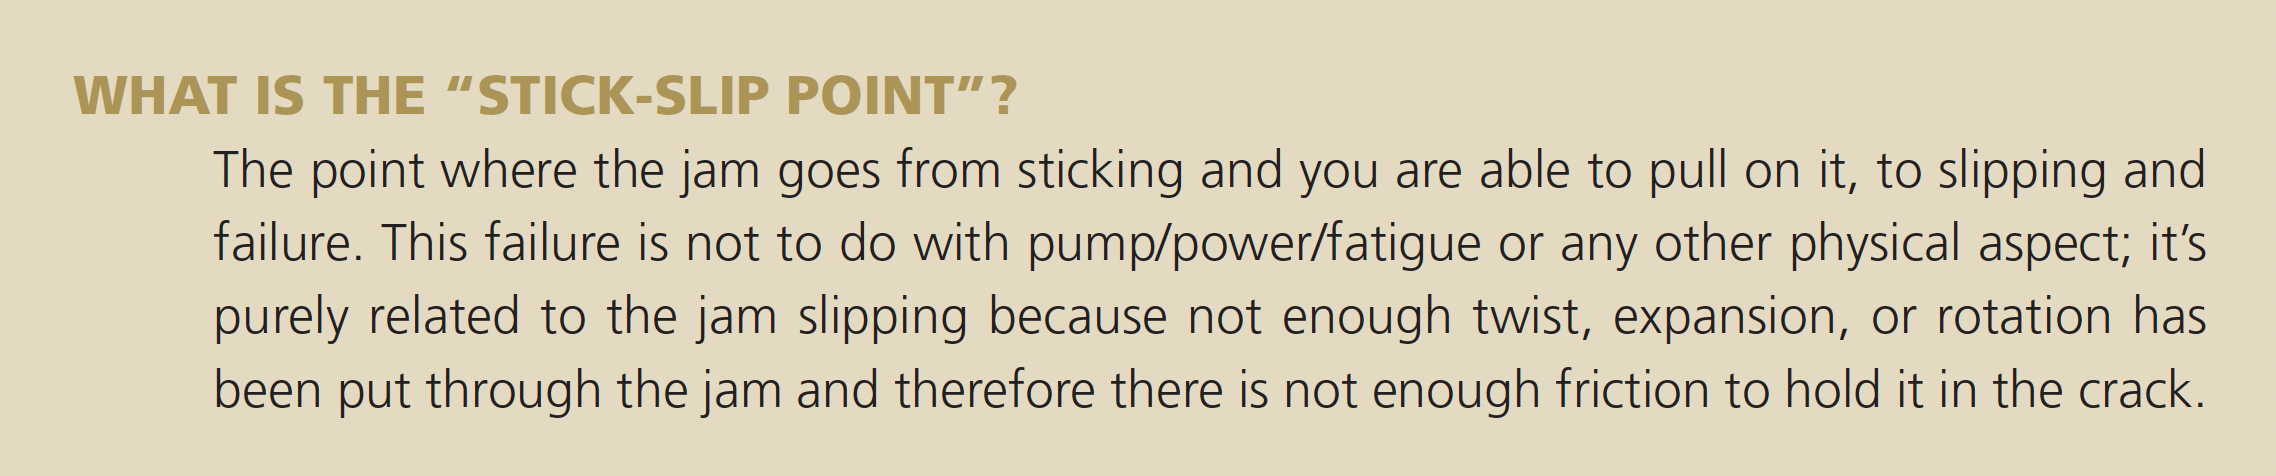
- Skin is your contact point with the rock. This contact between the rock and your skin has friction which keeps you on the climb. Friction is an essential part of jamming as a lot of the time there is a great deal more skin contact than in any other style of climbing. Hands, arms, legs, torso, you name it—you’ll probably use it against the rock while crack climbing. Jams rely on friction to stay in the crack. Use your body parts to get more friction against the rock, as larger amounts of friction will mean you won’t have to hold on as hard. If you practice where the “stick-slip point” is, then you can learn to climb whole routes just above this threshold, gaining maximum efficiency from friction and using less strength. Structure not strength!
Rule 5: More surface area between skin and rock equals a better jam
The more contact that your jam has with the rock, the better it will feel. By orientating your jam correctly to the rock’s profile, you will get more surface area of the jam touching the rock and therefore a more solid jam. Let’s try and understand this concept better:
Your climbing partner has made you a jam sandwich. Between the two slices of bread is a layer of strawberry jam. They pass you the sandwich, but when you bite into it you find they haven’t spread the jam right to the edge of the slice, so all you get is a mouthful of bread. You find they have only spread the strawberry jam in the centre of the sandwich and there is barely any surface area of strawberry jam touching the bread. Very disappointing. You ask if the jam can be spread right to the edges of the bread to cover the whole area. You try the sandwich again; this time you get a mouthful of strawberry jam and the jam sandwich tastes great!
ADVERTISEMENT
Let’s take this strawberry jam sandwich example and apply it to crack climbing. The slices of bread represent the crack walls and the strawberry jam represents our body jam. When you put your jam in between the crack walls, if there is minimal surface area contact between skin and rock when you engage the jam, then just like your strawberry jam sandwich, the end product will be disappointing. However, if you create lots of surface area contact with your jam and the crack walls, then just like your fully spread strawberry jam sandwich, the taste—of success—will be sweet.
More surface area between skin and rock equals a better jam.
Summary: The Five Rules
- Fill the space efficiently: insert as much of the body part as possible into the crack before executing the jam.
- Your body is a rack of jamming devices: your body has lots of different sizes and shapes and ways of moving and expanding. Use these body “tools” to jam, twist, rotate, and expand to make the jam stick.
- Keep everything in line with the crack: imagine climbing a crack like you would climb a ladder.
- Structure not strength: you should be hanging from joints, ligaments, and bone. You should lock your body into the rock, not hold your body on to the rock.
- More contact equals a better jam: by using the profile of the rock and your body, in unison, you will maximize contact area with the rock, and have more friction and therefore a better jam.
Available now!
Organized by width of crack (finger, hand and fist, offwidth, and chimney), Crack Climbing covers everything from basics like the hand jam through advanced techniques including the sidewinder and trout tickler.
To keep you motivated, Whittaker includes interviews with some of the world’s top climbers. Learn from the best, including not only Whittaker but also Beth Rodden, Lynn Hill, Alex Honnold, Barbara Zangerl, Peter Croft, Hazel Findlay, Nico Favresse, and more!
Also available at Mountaineers Books, Barnes & Noble and IndieBound.
ADVERTISEMENT

Pete Whittaker is widely regarded as one of the finest crack climbers in the world, and is best known in the US as part of the Wide Boyz duo. He has made dozens of cutting-edge first ascents and hard repeats, including the third free ascent of Norway’s Recovery Drink (5.14c) and, with partner Tom Randall, the first ascents of Century Crack (5.14b) and Black Mamba (5.14b) in Canyonlands National Park. Follow him at @petewhittaker01 on Instagram, Facebook, and Twitter.