Published May 4, 2022 01:00AM
The Hidden Dangers of One Crucial Steep-Rock Technique
The key to the preservation of anything—including our climber knees—is minimizing wear-and-tear. Recognizing the signs and incorporating proactive decision-making will help our gear, and ourselves, last longer.
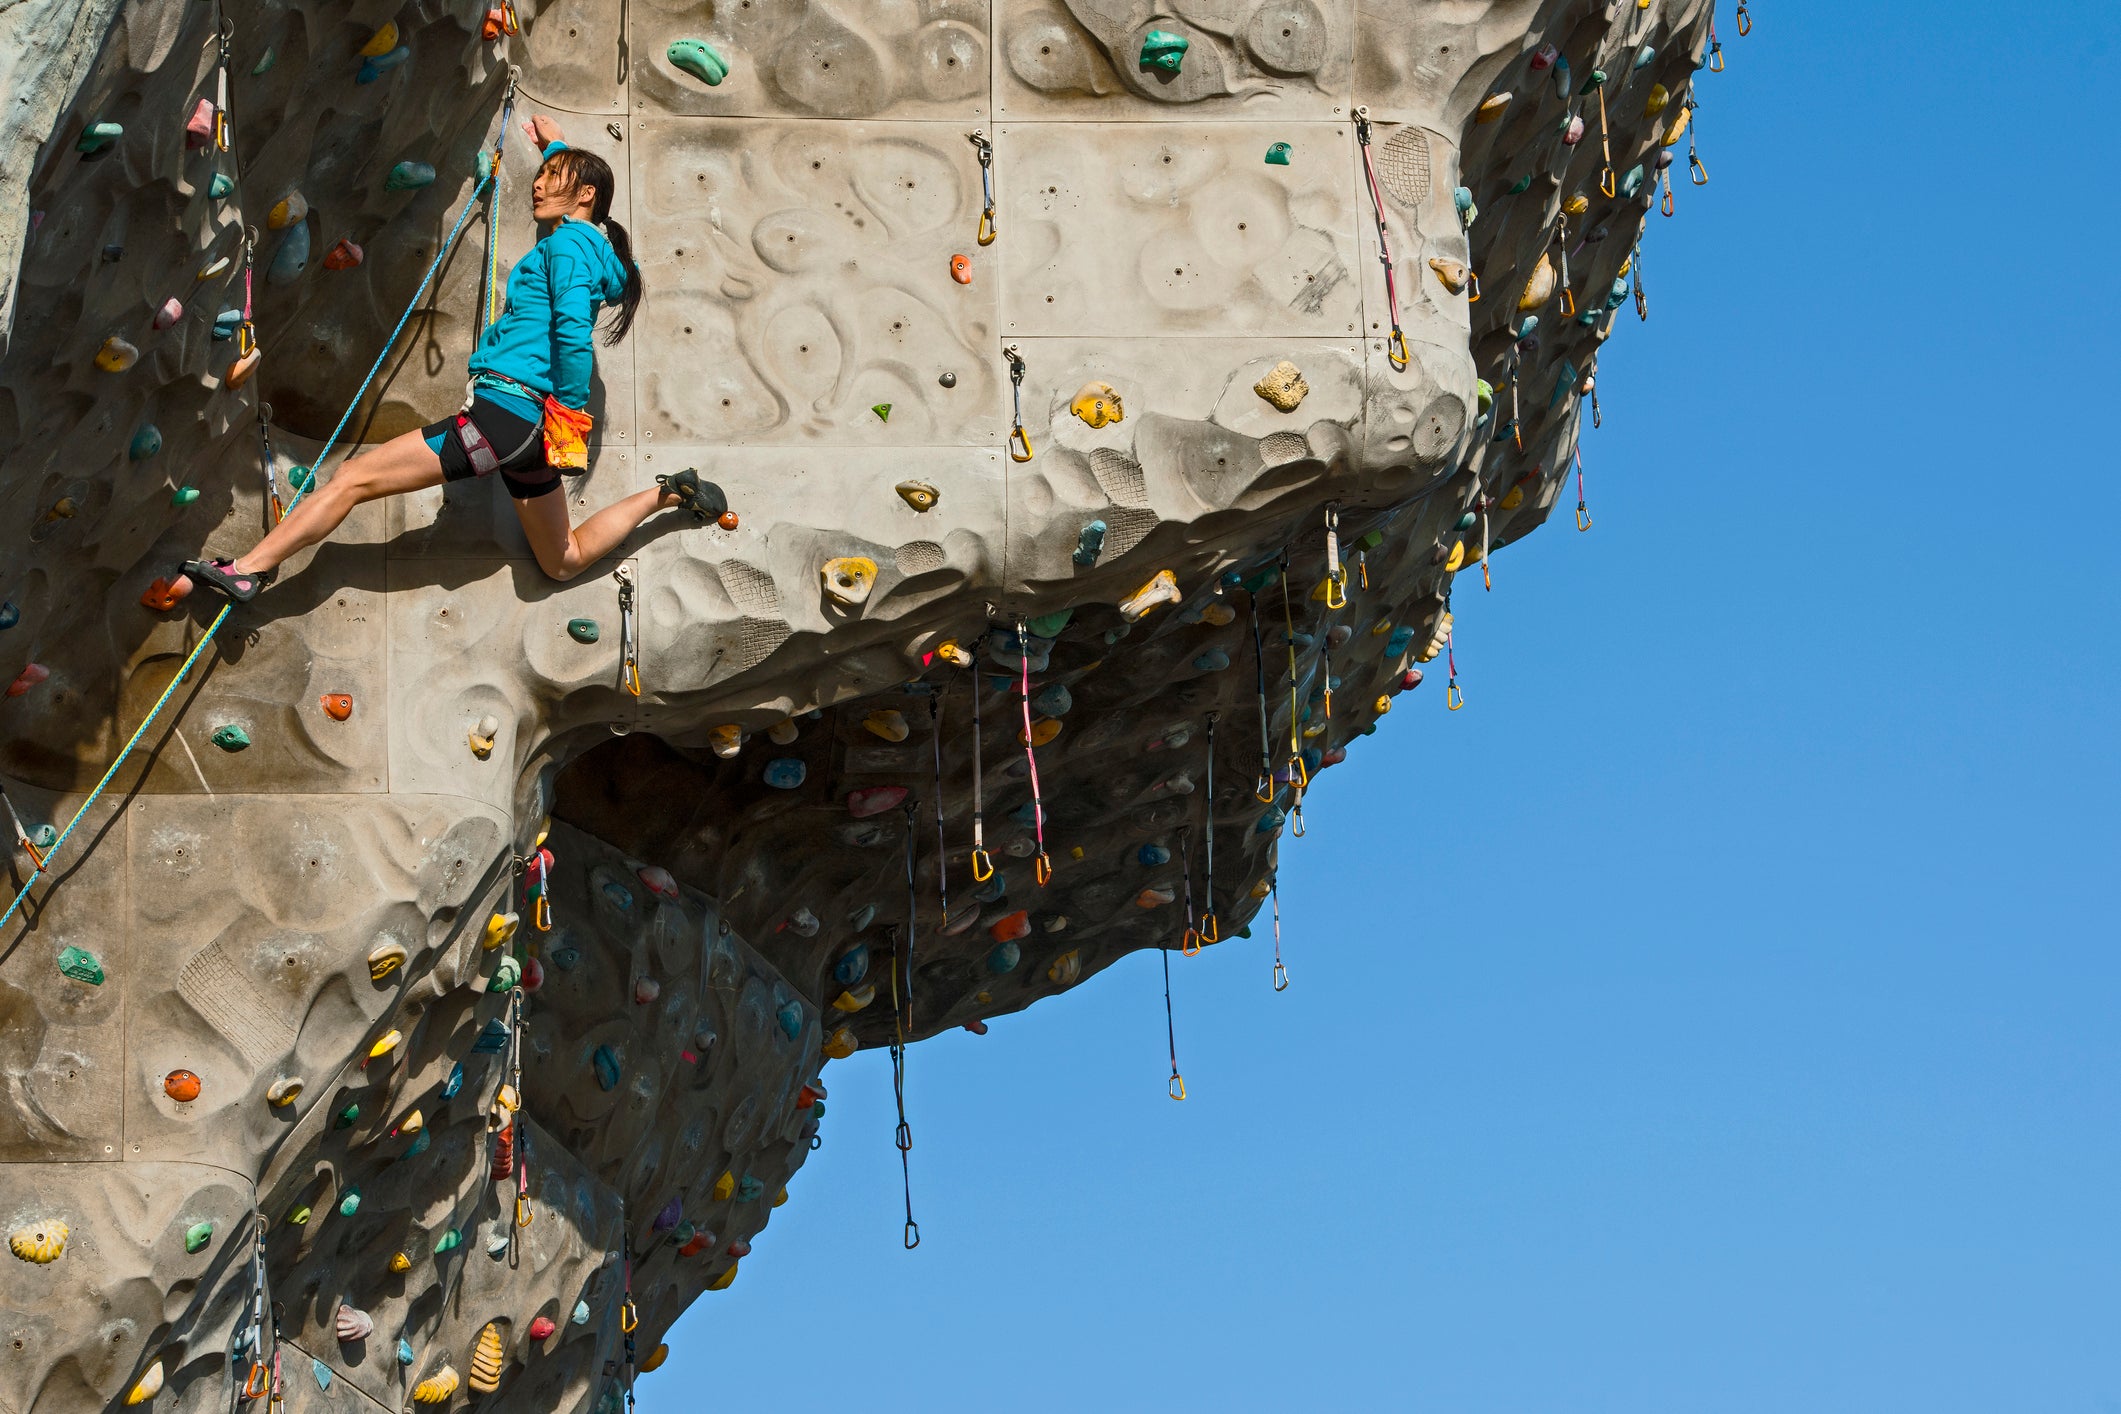
A climber doing a deep drop-knee on a climbing wall in in Seoul, South Korea. (Photo: Getty Images)
Vantage, Washington. Early March 2018. Last sport pitch on a sunny afternoon. A blocky, flowy, basalt-y, 5.10-something with a few mid-pitch reachy moves. As my friend Ryan climbed slowly and with control, I watched him move into a calculated right drop-knee to extend his reach. Dope. He’s so good at onsighting, I thought. Then all of a sudden there was an audible pop, and Ryan was off the wall. Weird: I didn’t see any holds break. And he looked so stable.
“Let me down!” Ryan said urgently. His girlfriend lowered him to the ground, where he didn’t even try to stand, instead letting himself be lowered into a sitting position. Ryan grabbed his right knee and winced.
What had happened?
The Structure: The Inside of Your Knee
Our knees are fairly straightforward structures. In the anatomy world, they’re known as hinge joints, and much like the hinge on a door, they allow motion predominantly in one direction: They bend and they straighten. There’s a little bit of wiggle room in other directions (namely some twisting and side-to-side movements), but really not much in comparison. For instance, most knees can bend and straighten over an entire arc of ~160–170 degrees, but twisting and side-to-side movements normally only yield ~30 degrees of range and ~0–2 degrees respectively (i.e., ~35 percent and ~2 percent in comparison).
Movement beyond these normal values ain’t the greatest thing for our knees. All it takes is one second of watching “NFL’s Greatest Hits” in slo-mo to understand that a knee moving sideways >2 degrees is not a good thing.
ADVERTISEMENT
One of the potentially most harmful movements occurs when our knees buckle or collapse inwards— “valgus collapse.” But it’s also a totally normal movement that we generally make use of all the time: like snowplowing when we ski or doing the stanky-leg dance move in your kitchen when T-Swift comes on Spotify. The key is not allowing valgus collapse to go too far. Think of it like bending your finger backwards. Yeah, it’s a normal functional movement that our fingers can do, but bend that finger too far backwards, or too forcefully, or too repetitively… and, no bueno, that finger’s gonna get pretty busted.
Fortunately, our knees have several anatomical safeguards in place to prevent excessive valgus collapse. Think of these anatomical safeguards, collectively, almost like a dog leash: They don’t prevent normal movements from happening; they just prevent those movements from going too far. To guard against excessive valgus collapse, the primary safeguard our knees rely on is the medial collateral ligament, better known as the MCL.
The MCL is a piece of tissue located on the inside of the knee. It spans the distance between the bony prominence on your inside thigh (the femur) to the bony prominence on your upper inside shin (the tibia). It’s a structure made up of layers, each responsible for slightly different things; collectively, it’s ~11 cm long, ~3 cm wide, and ~0.2 cm thick, and is responsible for up to 80 percent of the restraining force needed to stop excessive valgus collapse.1 Similar to the dynamic properties of a rope, the MCL can stretch a bit before failing. In the research, this amount of stretch varies, but it seems to lie somewhere between ~17–23 percent stretch before rupture. (1,2)
The Problem—The Drop Knee
A 2020 study analyzing knee injuries among climbers found that the drop-knee maneuver was the reason behind ~20 percent of all climbing-related knee injuries (interestingly, heel-hooking and ground falls made up a combined ~60 percent in this study). (3)
What makes the drop-knee a perfect injury-maker is the unique position in which it puts the knee. Without getting too anatomical, during a drop-knee, the hip is fully rotated inward while the knee goes into some degree of full bend. In this position, you are effectively placing nearly 80 percent of the restraining force on your MCL, depending on it to be strong enough to stop the knee from buckling.
ADVERTISEMENT
So how much force does a drop-knee place on the MCL? Unfortunately, the research needed to answer that question hasn’t been done yet, so the best we can do is guess based on the existing data. In one study, it was shown that our MCLs could withstand ~530 Newtons (N) of force before tearing, which is equivalent to ~120 lbs worth of force. (4) But other studies have shown that certain portions of the MCL can fail at much lower forces—a 2010 study demonstrated some parts fail as low as 88 N (~20 lbs) of force. (5) For comparison, a bodyweight squat to 90 degrees produces less than 50 N (~11 lbs), and this force doesn’t change much even when ~70 lbs are added (6) ; a full squat position—i.e., contact between the thigh and calf—only causes ~8 percent stretch in the MCL (7).
Drop-knees are a bit more compromising and complicated versus squats, but, for the most part, there’s negligible external weight added to a climber (even a full multi-pitch backpack is much lighter than a 45-lb barbell with plates), and full drop-knee positions are, even for the best of us, very rarely used outside elite-level climbing.
The main issue for most of us will be the effect of fatigue. All materials, including the ones us humans are made of, perform worse when fatigue becomes a factor. An old study from the early 1980s measured MCL properties after elite runners completed a 3.5-mile x 30-min run. In that study, they found that the MCL on average had ~23 percent more laxity post-run, that this laxity peaked 10–20 minutes after the run, and that it did not return to normal levels until ~60 minutes later. (8) Ask these runners to do a drop-knee and the likelihood for an injury will be much, much higher.
The Solutions
Drop-knees are an important technique to learn and utilize, and this piece isn’t meant to deter you from employing them. But the primary key for avoiding a drop-knee-related injury is listening to your knees. Pain within the vicinity of your MCL is your first sign that things are starting to fatigue—which will impair the MCL’s ability to do its job in resisting force. If you’re feeling discomfort here, minimize or avoid drop-knees to mitigate your injury risk. Like changing the ends of a rope after taking some falls, you need to give that tissue recovery time before loading it.
ADVERTISEMENT
How long is needed? Unfortunately, no good research exists to answer this question. It’s most likely different for every individual, but some factors to keep in mind are:
- Age: The unfortunate truth is that the older we are, the weaker our tissues are; so if you’re climbing into your later decades, take more frequent or longer rests between drop-knee-intensive routes
- Previous Knee Injuries: Our bodies do a great job repairing themselves, but previous knee damage may leave the tissue more susceptible to future injury. If you have a previous knee injury—just as with aging—take more or longer breaks from this technique
- Intensity of Symptoms: I always remind my clients that some pain during sport is normal–but that it needs to be kept to reasonable limits. I often use the limit of 2–3/10—anything higher and your risk of injury significantly elevates. If you’re >3/10, take a break until the symptoms resolve—no time limit here— and if it doesn’t by the time you’re next up to climb, perhaps call it a day.
Strengthening Exercises
Actively strengthening our knees is also a helpful tactic. In the end, injury prevention comes down to resiliency: Stronger tissues fatigue slowly and are less likely to fail.
Banded Squats/Sit-to-Stand
- Tie a resistance band around your knees
- Stand with your feet shoulder-width apart, separate your knees, and perform a squat
- As you squat, work to keep the band from collapsing the knees–i.e., actively engage your glutes and push your knees apart
- Having a chair behind you helps to ensure the same depth with each squat—aim for a 90° depth
- Load up with weight as needed
- Goal: 20 reps x 2 sets, resting 1–2 min between sets (ultimately the reps don’t matter—find a challenging, appropriate starting point, and if it’s under 20 reps, build it up to 20 as you can)
Banded Reverse Lunge Sliders
- Tie a resistance band around one knee
- From a standing position, slide the opposite leg back into a reverse lunge without resting the knee on the ground
- Aim for a 90/90 end position—i.e., 90 degrees of bend at both knees
- Make sure your knee doesn’t give in to the valgus pull of the band—i.e., push your knee outward
- Goal: 20 reps x 2 sets, resting 1–2 min between sets
3-Way Step-Downs
- One leg up on a step
- Perform a forward, then a side, and then a backward step-down
- Aim to touch the floor between each step, but don’t rest on the ground
- Performance of one forward + side + backward stepdown = 1 “cycle”
- Focus on preventing the working leg from collapsing inward
- Goal: 10 “cycles” continuously on the same leg, resting 1–2 min then switching legs
On a final note, recognizing your body’s signs of knee fatigue, recognizing your limits from previous injuries, and building up and optimizing the strength of the tissues surrounding your MCL are your best bets for preventing a knee-drop injury from happening in the first place. So when you decide to use that tall-person drop-knee beta, do so with strategy.
Adam Luu is a Registered Physiotherapist based out of Squamish, British Columbia, Canada. Find him online at adamluuphysiotherapy.com or on Instagram @adamluu
ADVERTISEMENT
Sources:
- W Wilson et al “Comparative analysis of the structural properties of the collateral ligaments of the human knee” J Orthop Sports Phys Ther 2012,42(4):345-351.
- N Schilaty et al “Frontal plane loading characteristics of medial collateral ligament strain concurrent with anterior cruciate ligament failure” Am J Sports Med 2019,47(9):2143-2150.
- C Lutter et al “Mechanisms of acute knee injuries in bouldering and rock climbing athletes” Am J Sports Med 2020,48(3):730-738.
- J Robinson et al “Structural properties of the medial collateral ligament complex of the human knee” J Biomech 2005,38:1067-1074.
- C Wijdicks et al “Structural properties of the primary medial knee ligaments” Am J Sprots Med 2010,38(8):1638-1646.
- M Adouni et al “Knee joint biomechanics in closed-kinetic-chain exercises” Comput Methods Biomech Biomed Engin 2009,12(6):661-670.
- R Escamilla “Knee biomechanics of the dynamic squat exercise” Med Sci Sports Exerc 2001,33(1):127-141.
- D Stoller et al “The effects of exercise, ice, and ultrasonography on torsional laxity of the knee” Clin Orthop Relat Res 1983,174:172-180.