Published October 28, 2022 10:38AM
Want to Get Better at Trad Climbing? Go Aid Climbing
Aid climbing is the one sure-fire way to accelerate the trad climbing learning curve
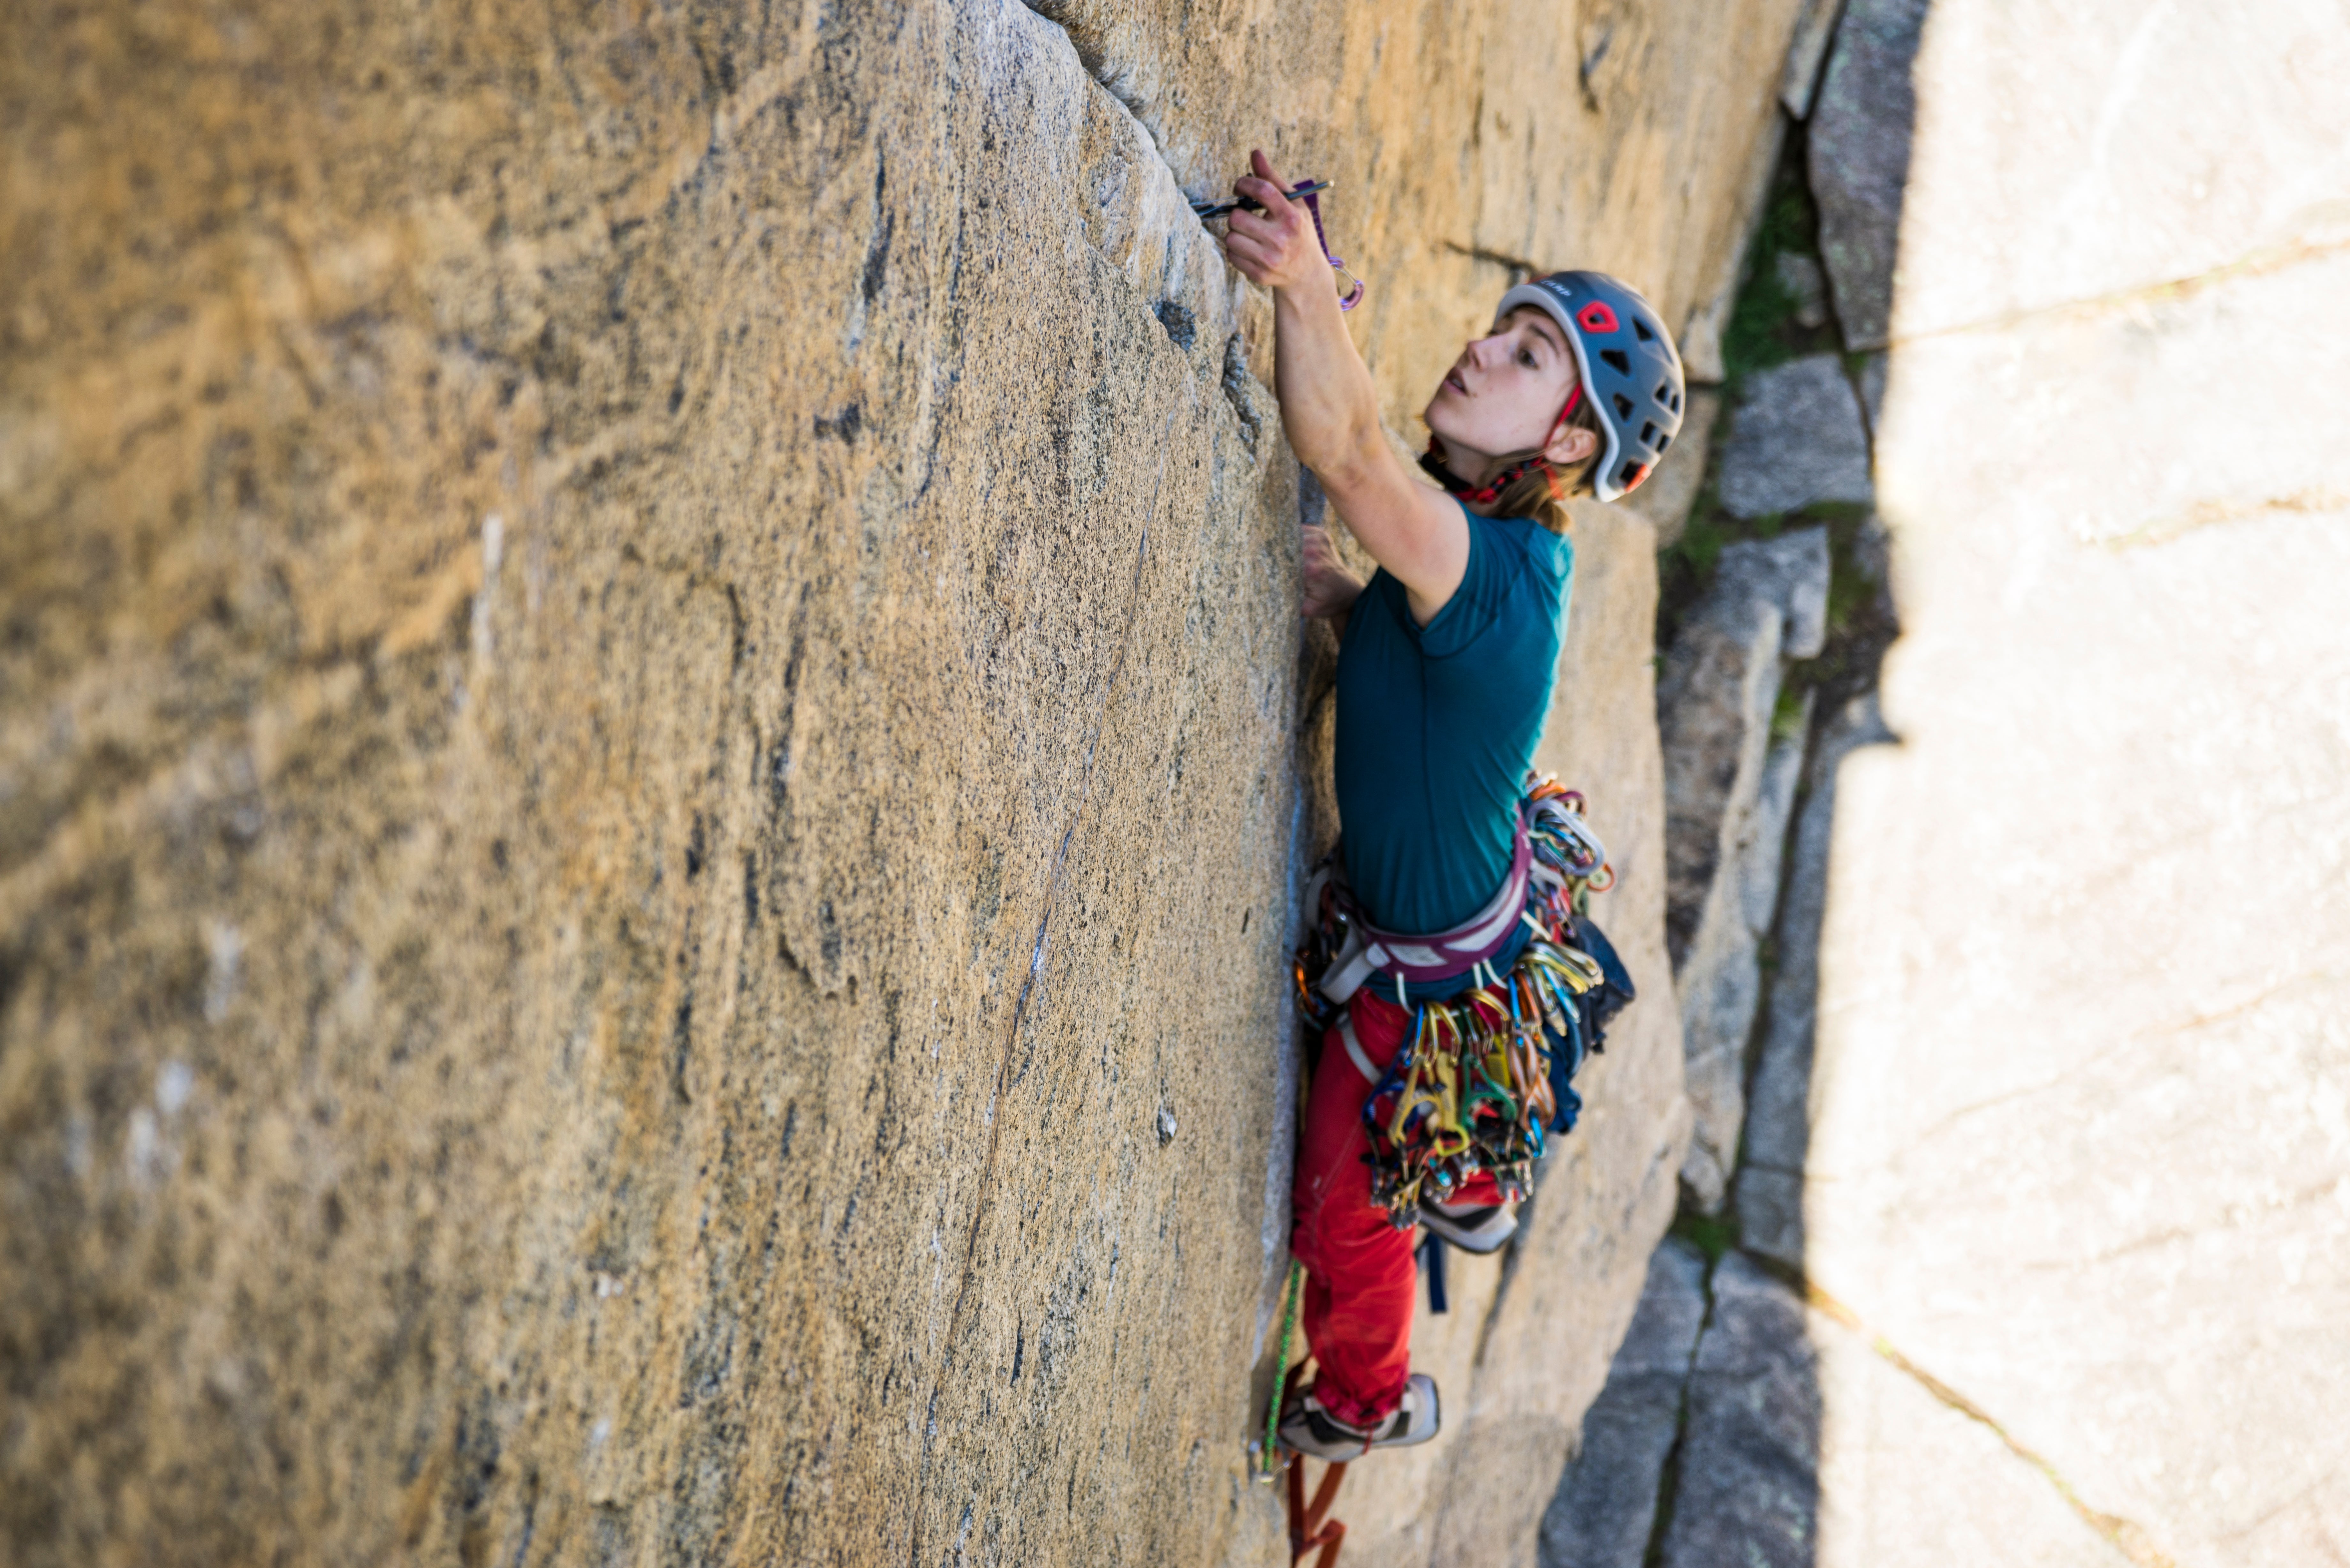
Corey Buhay fine-tunes her gear placements by aid climbing at Practice Rock in Boulder Canyon, Colorado. (Photo: Bailey Batchelor)
It all went smoothly for the first half pitch.
The plan was Zodiac in a single push. Mark and I had climbed the 1,800-foot El Cap route over several days a couple years before, but Mark had upped his game considerably since then, graduating from no-name aspiring big-wall and alpine climber to getting some ink in the mags with new routes on Baffin Island. He’d also spent the past year apprenticing under some well-known climbers and getting turned on to big-wall speed climbing.
Now I was the apprentice.
I launched myself at pitch one with Mark barking orders like a drill sergeant. He had instructed me that there could be no methodical testing of gear placements before committing to them. Plug in the piece and give it a precursory bounce, if at all.
“GO! GO! GO! You’ve got 20 minutes to finish the pitch! That’s good—don’t test it, keep moving!”
ADVERTISEMENT
Midway up the pitch I stalled. I stood in my etriers atop a string of A3 copperheads eyeing the next few feet of crack, which pinched down and afforded little in the way of a solid placement. I slotted in a #5 Stopper but couldn’t get it to seat; half the nut stuck out past the face of the rock.
“What’s the matter?!”
“Ah, I have this one sketchy placement. Sorry—just need to test it.”
I gave the nut a firm bounce. It held. So, very gingerly, I moved up onto it. Then I got a shallow but decent-looking #1 Camalot. Phew! Now I was back in the flow, placing a satisfactory TCU, then another TCU, back-cleaning the one below, placing it again, and moving up. I reached down to pluck my next piece off the rack.
POW!
An instant later the rope tugged at my harness. Then I was weightless. Another tug. I was airborne again. At this point my mind went blank.
ADVERTISEMENT
When I came to, I dangled a good 25 feet below the piece that had finally held. I was unhurt, but rattled. The first failed TCU hung from my daisy chain, the second dangled at my waist clipped to the rope under a third—the thank-god Camalot. Those were all good placements, I thought. What the fuck?
I jugged up to the rope’s high point and realized it was the plucky little nut—the one I’d deemed “sketchy” and the last piece above the copperheads—that had stopped my 40-plus-foot plummet and likely kept me off the deck. The force of the fall was so great that the biner attached to it had deformed and bent open, almost unhooking from the rope.
I finished the pitch, but took great care with the remaining cam and TCU placements, so we bailed and found a new objective. Mark could see I wouldn’t be racing up anything again that day. Even though I’d been climbing and placing pro for six years, with several El Cap ascents under my belt, I still had gaps in my knowledge and skill. I would have to reassess many of my assumptions.
The hard truth is that rock-climbing protection isn’t as fool-proof as climbers often lull themselves into believing. You can think you’re doing a decent job of placing pro when in fact you’re one slip, one botched sequence, one flash pump away from disaster. It happens, even to those with years of experience—just pick up a copy of Accidents in North American Mountaineering and read for yourself.

Placing gear on free climbs is unlike other skills we learn. Grab too much front brake on your mountain bike and you get a good smack down right then and there. OK, I won’t do that again! But you can lead trad for an entire season, place hundreds of pieces, never take a fall, and receive very little feedback. You might get the occasional comment from your second that “one of those Aliens was a little tipped out—not to worry though, you’re doing great,” but let’s be real: that kind of gentle critique isn’t what you want when your life is on the line. The lack of immediate repercussions for mistakes can lead to naïve overconfidence, which every year results in several avoidable tragedies.
To gain the experience you need to place solid, reliable pro, you want that immediate feedback—direct, unfiltered, and unconcerned with your feelings. The good news is you don’t need to take 40-foot big-wall whippers to get it. You need only follow the time-tested (since before free climbing was even a thing) techniques of methodically and cautiously scaling rock via mechanical aid.
ADVERTISEMENT
The first step is to go find an accessible crack in the 5.10 to 5.12 range, one that’s steep, clean, and continuous, which is what you want for aiding. Go at an off-hours time, like when the wall is baking in the sun. Climbs like this tend to be quite popular; you don’t want to be the gumby laying siege the local test piece on a crisp autumn weekend.

If you can borrow a set of daisy chains and etriers, do that. Otherwise you can make your own, or simply fashion a makeshift setup out of slings. You’ll also want knee pads or at the very least long pants like jeans or Carhartts. Wear comfortable approach shoes, sneakers, or hiking boots that you don’t mind scuffing up (best not to wear your rock shoes lest you risk permanently traumatizing your toes). And don’t forget the helmet—if you’re ever going to wear that thing, now is the time.
We’re not going deep into the weeds on aid-climbing technique here. This article is more about why you should spend some time aiding than how specifically. There are plenty of other articles as well as books and online videos that explain the various systems. But briefly, the basic setup is a pair of daisy chains about five feet long girth-hitched to your harness, with an etrier clipped to a biner at the other end of each daisy. You leapfrog them from one placement to the next, clipping your rope to the gear as you go. The sequence is pretty intuitive:
- Climb up an etrier as high as reasonable and clip in short to the daisy.
- Place the next piece, clip into it with the other daisy
- Test the new piece (see below)
- Once you’re satisfied with the placement, move onto it
- Clip the rope to the previous placement and remove your daisy from it
- Repeat
Let’s say a bit more about the critical step in this whole process: testing each placement. Here’s where you get that immediate feedback on whether your gear-placing skill can actually save your life. After you place a piece and feel reasonably good about it, clip in with your daisy, as I’ve noted above. (Do not clip your rope to it at this point—if the piece fails you’ve got that much more rope out.) Undo your short-clip from the daisy on the piece you’re still weighting and move down a step or two in the etrier until you come taught on the new piece. Re-clip to the daisy on the lower piece leaving just a little slack. Now bounce on the new piece with all your weight, varying the angle of pull as much as you reasonably can. (Don’t look at the piece while you do this in case it pops.) Your daisy webbing has very little stretch compared to a dynamic rope and you can easily generate the force of a 10- or 15-foot lead fall with a vigorous bounce test. Voilà, you’ve just effectively whipped onto your gear.
And if it rips out? Well, you learned something invaluable—without requiring a trip to the ER. If it’s a tricky placement, it may take you a couple of tries, but eventually you’ll get something that holds. That kind of first-hand, in-your-face (not literally because you wore the helmet and kept your head down, not looking at the piece while you tested it) trial-and-error process teaches you immeasurably more than any how-to book or mentor critique ever could.
ADVERTISEMENT
It’s worth noting here that, you should begin this practice with the security of a top rope. On the other hand, once you’ve run a few successful laps, then consider the confidence-boosting value of having a little skin in the game by leading. After all, if you’ll soon be placing pro that you entrust your life to while pumping out on an insecure jam, then you should certainly be able to do so while hanging in slings.

When you get to the anchors, rap off and clean the pitch yourself. There’s a lot to learn here as well. One thing about climbing with people who have done some aiding: you never have to worry about them leaving gear on a route. You can over-cam that TCU and stuff it as deep into the crack as possible; they’ll find a way to finagle in out. So improving your own cleaning skills makes you a better climbing partner—and you’ll probably end up with a bigger rack at the end of the season than you started with.
Now go buy your belayer some well-deserved beers.
Gear Placement Tips
You have to get out there and experience for yourself how all those cool little gadgets interact with the rock and the laws of physics to keep you safe. But a few key tips can certainly help speed you through the steepest (and most dangerous) part of the learning curve.
ADVERTISEMENT
1. Expect your gear to fail
In real-life scenarios, pro rips, ropes come unclipped, and biners break. Your best bet against failures is redundancy. Always back up that piece at the crux with a second placement if you can. Anytime you’re relying on a piece to keep you off the ground or a ledge, or if you’re expecting a long run-out, you should clip the rope with a locking biner or two biners with the gates opposed. Climbing gyms and well-bolted sport routes provide laboratory-like environments where carabiners are nearly one-hundred percent reliable. Consequently, climbers come to think of them as infallible. They’re not.
2. A well-seated nut is often your best bet
After placing a nut, grab hold of the remaining ones on the racking biner, lift them up as high as you can without disturbing the placement, and yank down hard to seat it. Nuts are made of malleable aluminum which allows the rock to bite in and grip them in place. As long as the surrounding rock is solid, and the constriction below the nut is small enough that it can’t possibly blow through, you should have a bomber placement you can be confident in. And don’t be afraid to use nuts in creative ways. In shallow cracks you can often flip a nut 90-degrees so the wider face is spanning the crack. Well seated, this is a perfectly acceptable placement.
ADVERTISEMENT
3. Cams like to walk
The how-to books typically suggest placing cams in the middle of their expansion range. But talk to highly-experienced climbers and guides and they’ll tell you cams should be retracted near the limit of their range. You can experiment and see for yourself: a near-fully retracted cam stays put much better than one in the middle of it’s range. Your second needs only a slight amount of trigger pull to release the piece, so don’t be afraid to stuff it in there.
4. Expect your cams to skate
One of the biggest causes of rock-climbing accidents is cams squirting out of cracks. This is of particular concern with smooth, fine-grained rock. If the rock appears or feels slippery, it is! So when you make a placement, assess how much real estate there is in the direction of pull. If the lobes were to slip an inch or two would they still have rock to bite? As a general rule, place your cams as deeply as possible while still allowing your second to reach the trigger.
5. Look for cam placements that get narrower in the direction of pull
More often than not, you can find a place where the crack constricts slightly just below the cam’s lobes. Simple geometry makes the piece much less likely to skate. Conversely, you should be very wary of any placement where the crack widens in the direction of pull.
ADVERTISEMENT
6. Over-cam the little guys
With TCUs and the like, you should fully retract the cams and jam the piece in tight. Don’t worry about getting it stuck; it’s easier to wiggle out than a larger over-cammed piece. Small cams are also less tolerant of non-parallel flaring cracks where the individual lobes are retracted different amounts. Be picky with them: in my experience, these are the most likely pieces to fail.
7. Use long slings to reduce rope drag
Poor rope management is a common trad-climbing mistake. With your rope zig-zagging up the pitch, cams are more likely to walk or shift and nuts can be levered out, not to mention the rope-drag weighs you down, making the climbing harder and a fall more likely. Use long slings to keep the rope running as straight as the route allows.
Trad Leading Essentials
Two nut tools
Avoid frustrating experiences with partners who leave your gear behind because they don’t have a nut tool. Carry an extra one in your pack. Trading one tool back and forth on a multi-pitch climb is problematic; you invariably forget to make the swap at belays and sometimes you desperately need it on lead to remedy a botched placement. Making sure that your partner has a nut tool while on the ground should become as second nature as doubling back your harness.
ADVERTISEMENT
Extra nuts in the common sizes
A standard rack should always included doubles in the small- to mid-size nuts. The extra weight and bulk is nominal and, as you’ll learn aiding, these guys are often your go-to pieces.
Route specific gear
Nothing shouts gumby louder than lugging a #4 Camalot up the 5.9 trade route that requires nothing larger than a #2. Get the gear beta beforehand and rack up with the sizes you’ll actually use. Bringing the kitchen sink just weighs you down, gets in the way, and makes it harder to find the pieces you need. It’s also important to know the area and what specific gear the rock tends to like. In Eldorado Canyon, for instance, a set of RPs is a staple of any rack, whereas in other places you can safely leave those weird-looking things in the car.
WD-40 and Simple Green
Keep these in your car in case you have a sticky cam. Hit it with the WD-40 to get it operating smoothly again. Then wipe it down with a rag (or your t-shirt), give it a few squirts of Simple Green, and rinse off with water to get rid of the oily film. Back to new.
ADVERTISEMENT