Updated March 26, 2025 12:14PM
The Proven Way to Get Stronger Fingers
Improve your finger strength with a hangboard workout and tips
The Problem: There are static moves you can’t do because you can’t grip the holds.
The Solution: Train finger strength by hangboarding. Stronger fingers mean you can use smaller holds—and holds that felt unhangable before will feel more manageable.
Fingers of steel are the foundation of harder climbing. As long as you have a solid base of climbing experience (climbers just starting out will find maximum benefit from just climbing), finger strength training is an excellent addition to a climber’s training regimen.
ADVERTISEMENT
Max finger strength is your ability to grab a hold for five to 10 seconds. This is employed in lockoff cruxes or on moves that require latching tiny or slopey holds. Finger strength gains can come from any climbing that has moves or holds that are taxing on the fingers—like bouldering at your limit—but the extraneous movement won’t translate directly to finger strength. Hangboarding targets this important element of climbing.
Training strength usually requires isotonic exercises like pull-ups that involve moving the joint through its range of motion, so muscles get stronger at every angle. In climbing, the fingers remain relatively static after grabbing a hold, so it’s best to train finger strength in the most common positions:
- Full-crimp (second knuckle above the first)
- Half-crimp (second knuckle even with the first)
- Open-hand (second knuckle below the first).
To train those positions, we’ll use isometric exercises, meaning holding a position statically without moving the joint, commonly referred to as a “dead hang.” You will gain strength in roughly 20 degrees of joint flexion in either direction from the grip you choose. Note that hangboarding can cause finger injury if not performed carefully. Approach training conservatively!
The Basics of Getting Stronger Fingers
Before climbers can try to get stronger fingers, you should start with healthy fingers. Newer climbers and those with past finger injuries should pay close attention to how each digit and joint feels during each session, and back off if anything feels suspect.
ADVERTISEMENT
To warm up before hangboarding, do at least 30 minutes of easy bouldering or route climbing, ramping up intensity slowly so your fingers work harder gradually. Climbing near your onsight level should suffice. Doing a 15-20-minute ARC session (see these Training Endurance tips) followed by 10-15 minutes of bouldering near your onsight level is also a good way to warm up.
If you’re hangboarding at home and can’t climb to warm up, improvise. Any grip-strength trainer, a malleable stress ball, or putty is a good way to start warming up your fingers. It’s also not a bad idea to do a short jog or some push-ups and core exercises to get the blood flowing first.
Before starting your workout, do a few 10-15-second hangs and pull-ups on the largest holds your hangboard to warm up your fingers without risking injury. Then do several easy, long hangs on slightly harder holds. Aim to play around on your hangboard like this for 10 or 15 minutes.
Planning a Hangboard Workout
Even though hangboarding isn’t as stressful on your fingers as campusing or hard bouldering, your muscles and joints still need plenty of time to recover. If it’s your first time on a hangboard, try two workouts a week, separated by 48-72 hours of rest. If this feels good, move up to three workouts a week, but no more.
ADVERTISEMENT
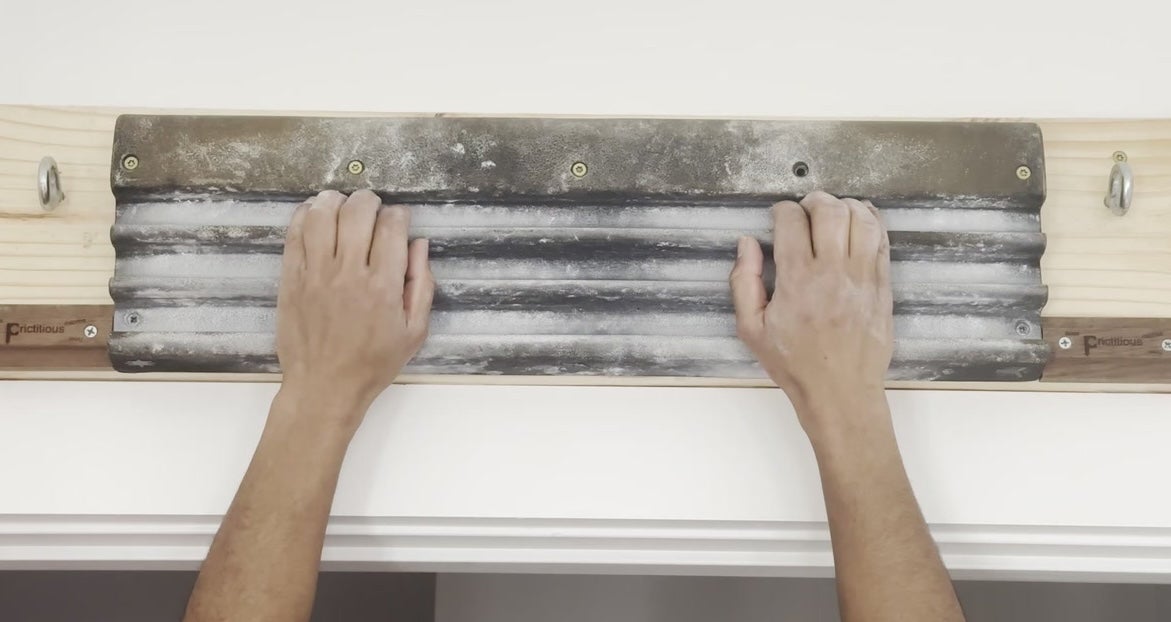
For a basic hangboard workout, do 10 sets of five hangs on a variety of holds. To start, use a large edge, small edge/crimp, two-finger pocket, three-finger pocket, and sloper. Each hold will be used twice in a row, and every hold except the small edge will be done with an open-hand grip. Smaller holds can be used with the half-crimp or full-crimp positions, but the full-crimp should be reserved for climbers experienced with training, because it’s the most likely to cause injury.
Watch pro climber Genevive Walker demonstrate her hangboard workout.
The Hangboard Workout:
- Hold 1: 10-second hang, 5-second rest
- Repeat the hang/rest cycle 5 times in a row, totaling 50 seconds on and 25 seconds off. Rest 3 minutes.
- Hold 1 (same hold again, same grip style): 10-second hang, 5-second rest
- Repeat the hang/rest cycle 5 times. Rest 3 minutes.
- Hold 2: 10-second hang, 5-second rest
- Repeat the hang/rest cycle 5 times. Rest 3 minutes.
- Hold 2 (same hold again, same grip style): 10-second hang, 5-second rest
- Repeat the hang/rest cycle 5 times. Rest 3 minutes.
Continue with holds 3, 4, and 5, doing each twice for a total of 10 sets.
Progressing in Hangboarding
After two to four workouts, you should find the last rep of each set to be a little easier, and you might not be failing on any of your last reps. This means it’s time to up the difficulty. The best way to do this is by increasing the weight you’re holding. It’s easy to track, and doesn’t require any additional testing for new holds.
ADVERTISEMENT
Add 1.5 to 2.5 pounds (lighter climbers try lighter weight; if that feels too easy, go for 2 or 2.5 pounds) to every set in your next workout. Do this by wearing a harness and strapping weight to the belay loop or tie-in points. Some folks use a weight vest, but that can actually change your hanging posture, which can lead to injury. You’ll notice that early reps in a set will still feel about the same, but the last rep of each set will feel much harder. After another two to four sessions, the increased weight should feel easy again—that’s when you’ll add another 1.5 to 2.5 pounds.
Continue with this system for four to six weeks. Most climbers will stop progressing somewhere around this point. If you find it too difficult to add more weight after only three to four weeks, you’ve reaped the most efficient strength benefits you’re going to get for now. Not everyone will progress the same, and it’s best to cut your strength training once you’re having trouble improving. Consider moving on to another aspect of training, like power or power-endurance. If you want to keep building finger strength, take at least two weeks off from hangboarding before starting another four to six weeks of workouts.
If that first cycle is all you want to do for now, don’t worry: You won’t lose much of your gains if you’re bouldering or climbing at your limit at least once a week. You can add in some shorter workouts to make sure you keep that strength in the coming weeks and months. Pick three of the holds that gave you the most difficulty in your workout, and continue doing one to two sets for each of those holds once a week.
Hangboarding Tips
Choosing Holds
Though the holds recommended here cover a variety of climbing styles, you may want to train for your home crag or a trip to a specific destination. In this case, you can train on holds that reflect the type of climbing you’ll be doing. Climbers training for the Red River Gorge may choose larger edges and pockets, whereas those training for thin, vertical limestone or granite will want to train on smaller crimps and pockets.
ADVERTISEMENT
Adjusting the Workout
Three minutes of rest between sets is a suggestion. The most important thing is that you feel completely rested before each set. Take as much time as you need to feel fresh. Resting longer won’t compromise your workout; it will help you focus on targeting strength and not endurance. The quality of each hang is crucial.
The goal is to be almost failing on the last rep of each set. This means the first hang will likely feel easy, and the hangs will get progressively harder until you think you’ll fall on the last rep or two. This can be difficult to find at your body weight on any specific hold, so you may have to experiment by adding or subtracting weight or choosing different holds. Use a pulley system to remove pounds; most gyms have them.
Proper Hangboarding Technique
- Keep head up in a neutral position, eyes straight ahead.
- Engage your back by pulling slightly up and squeezing shoulder blades together.
- Slightly bend elbows—don’t hang from straight arms.
- Keep core tight and activated.
Watch: Crank up your finger strength with this 6 Weeks To Stronger Fingers course.
ADVERTISEMENT
To improve your climbing by learning the proper ways to train your weaknesses, check out the rest of our series Learn to Train: A Complete Guide to Climbing Training.